Baking is so different from cooking. In baking, you follow a set of instructions to a tee, put it in the oven, and hope for the best. Cooking, on the other hand, is much more relaxed: you season as you go along and there’s more wiggle room for mistakes.
Some find it stressful to bake, having to follow the exact measurements and the cooking methods. But for me and many other home cooks, baking is a form of therapy! I’m forced to be completely present in the baking process and this helps me forget about my errands, chores, or any other stressors.
And at the end of that, I’m rewarded with the yummiest buttery treat, like this lemon raspberry loaf.
Half cake and half bread, it’s crispy on the outside and fluffy on the inside. The bread is buried with raspberry treasures and topped with a citrusy homemade lemon glaze.
Why not bake this lemon raspberry loaf for Easter or Thanksgiving? It’ll also sit nicely on your cake display, always available for a quick pick-me-up.
Recipe Ingredients
This hearty and comforting lemon raspberry bread calls for love and other ingredients that will make the bread rise as well as keep it moist and fluffy.
- Lemon – The star of the show. We will squeeze lemon juice and grate the lemon zest. It will be used in the glaze and the batter. In total, we will need 2 ½ tablespoons of lemon.
- Raspberries – Fresh, red raspberries are ideal for this recipe. Frozen raspberries are fine, too, but they won’t produce the same results.
- Batter ingredients – Butter, white sugar, eggs, all-purpose flour, baking soda, baking powder, salt, pure vanilla extract, and sour cream are the necessary batter ingredients.
- Icing sugar or confectioners sugar – Combined with lemon to make a sweet, creamy glaze
Step-by-Step Instructions
Step One: Begin by preheating the oven to 325˚F. Measure out all the ingredients. Remove the sour cream and eggs from the fridge 15 minutes before using so that it is close to room temperature.
Step Two: Combine the wet ingredients. Using an electric mixer, cream the butter and sugar until light coloured and fluffy. It is recommended to do this at medium speed.
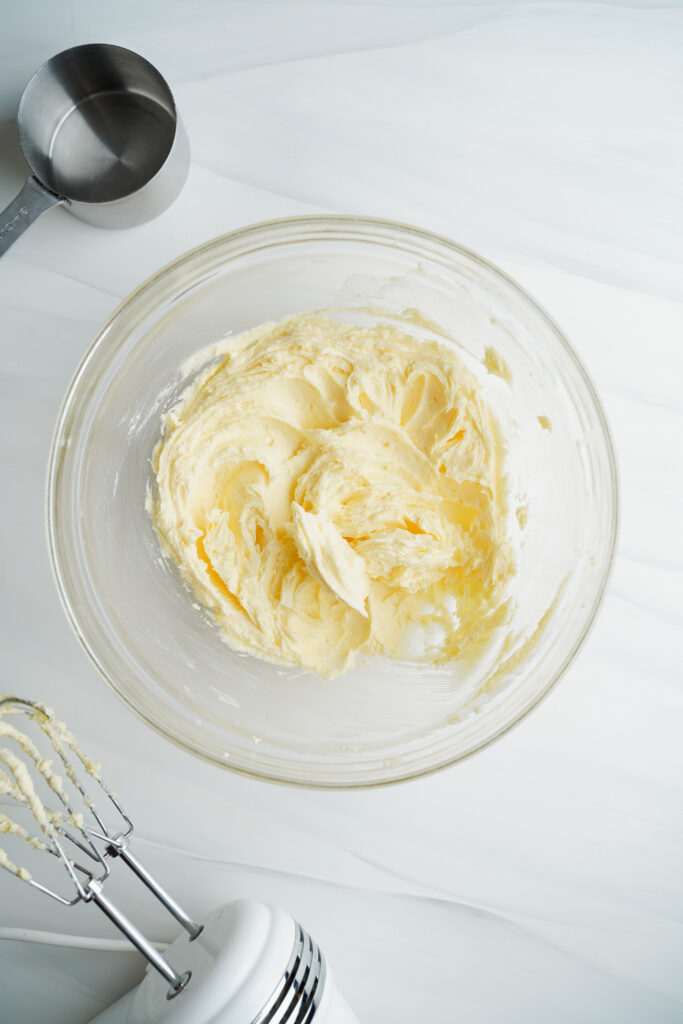
Beat each egg in, one at a time. Only add the next egg when the previous one has been mixed in completely. Use a rubber spatula to scrape down the sides of the bowl if needed.
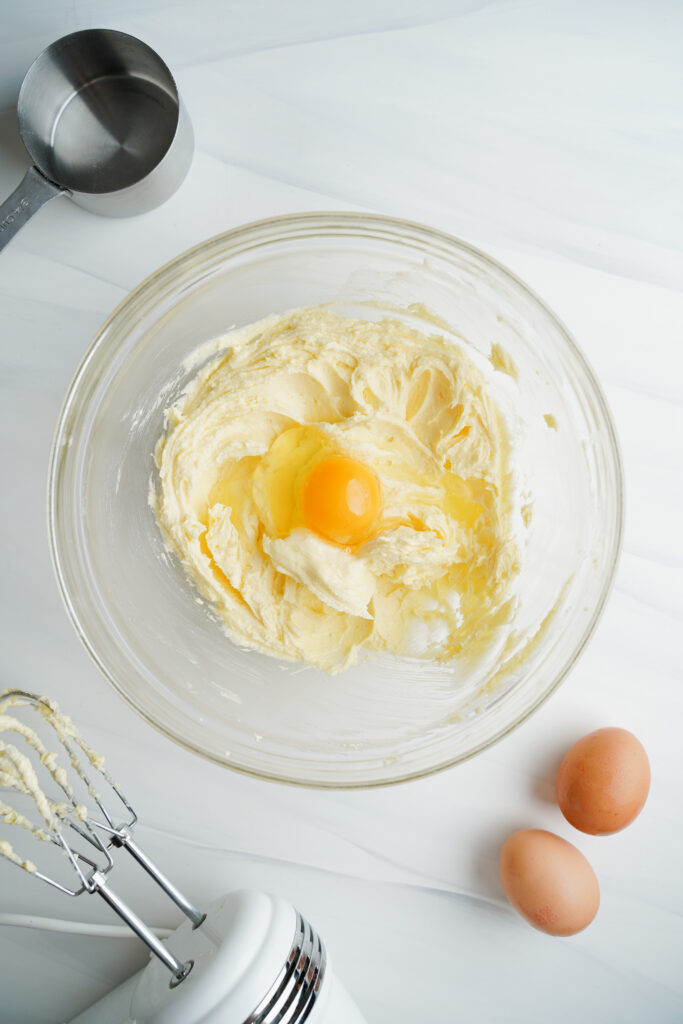
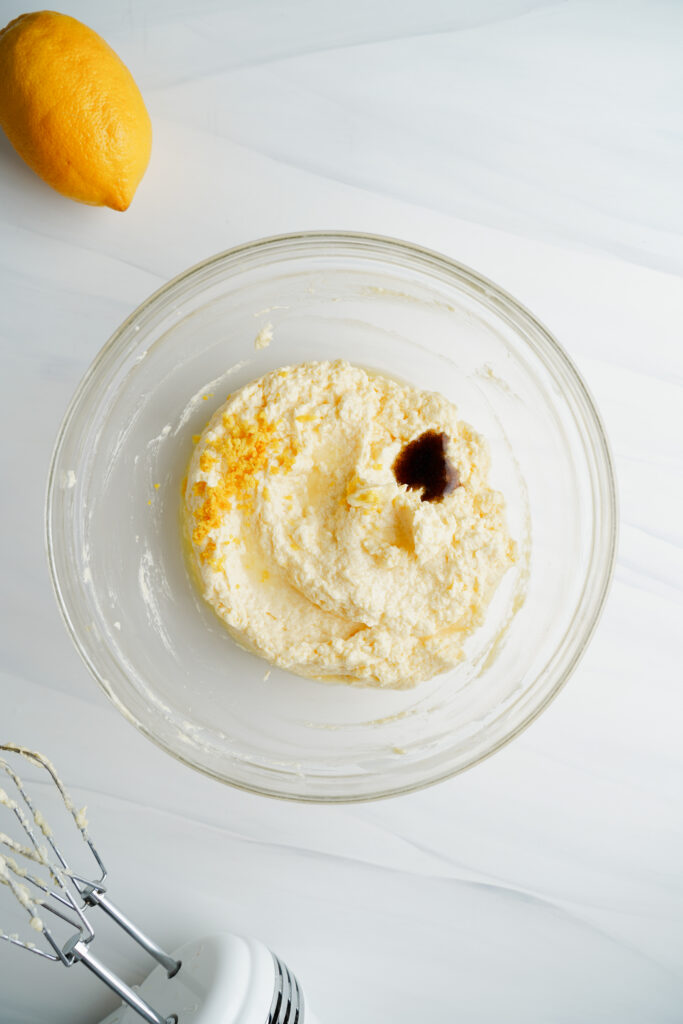
After all eggs have been blended in, pour in the lemon juice, the vanilla extract, and the lemon zest.
Step Three: Combine the dry ingredients. In a separate bowl, combine the dry ingredients: flour, baking soda, baking powder, and salt.
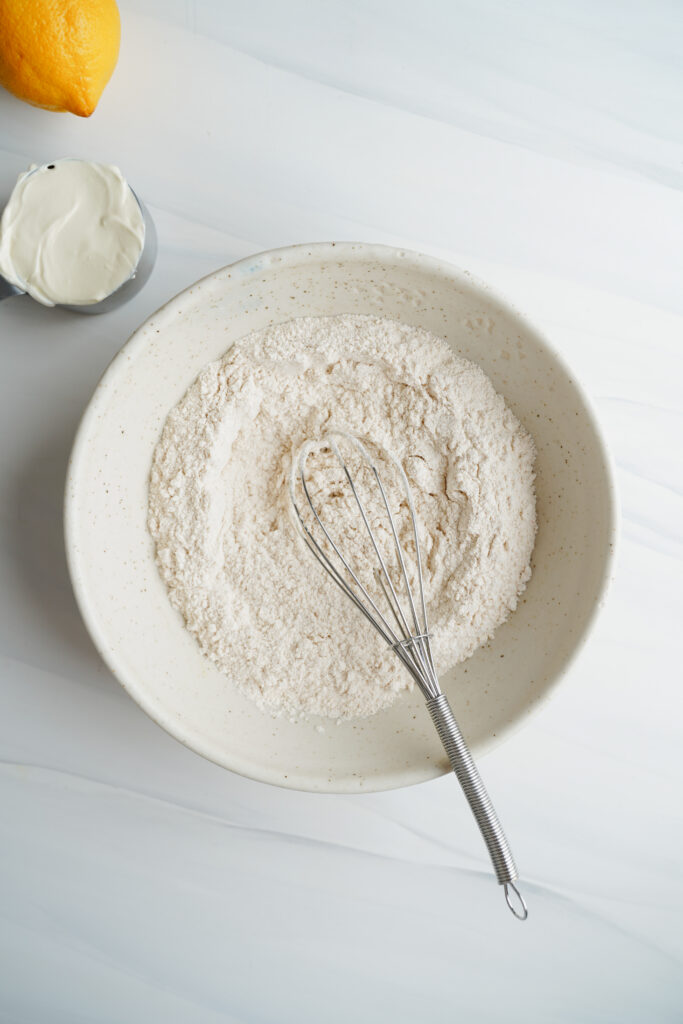
Set the mixer on low speed. Add the dry ingredients to the butter mixture, but not all at once! You want to alternate the flour with the sour cream, doing so with even portions.
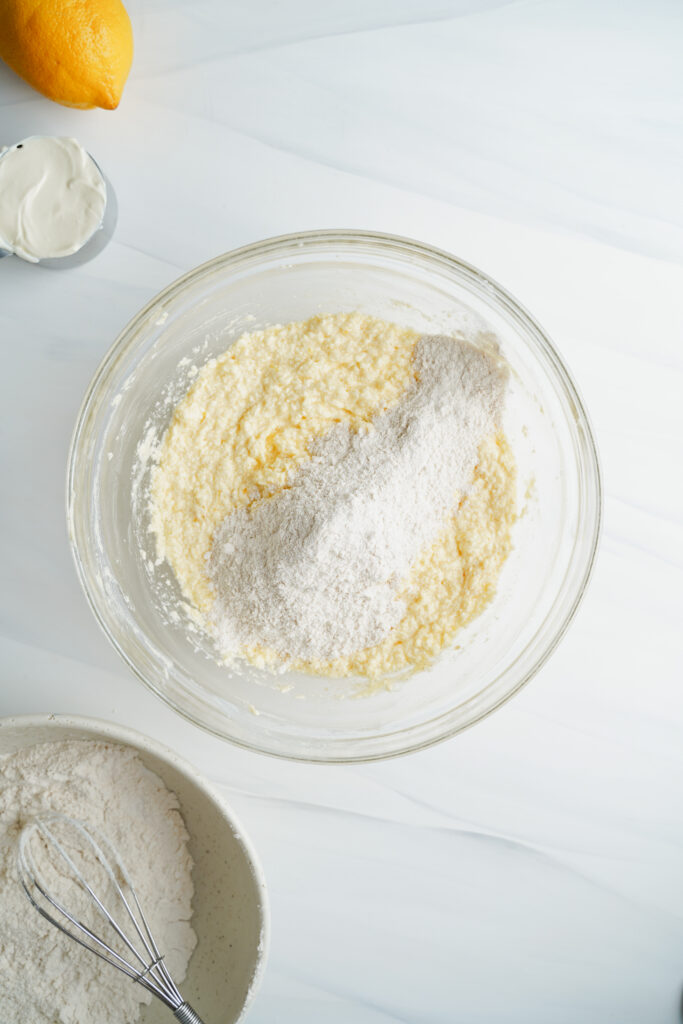
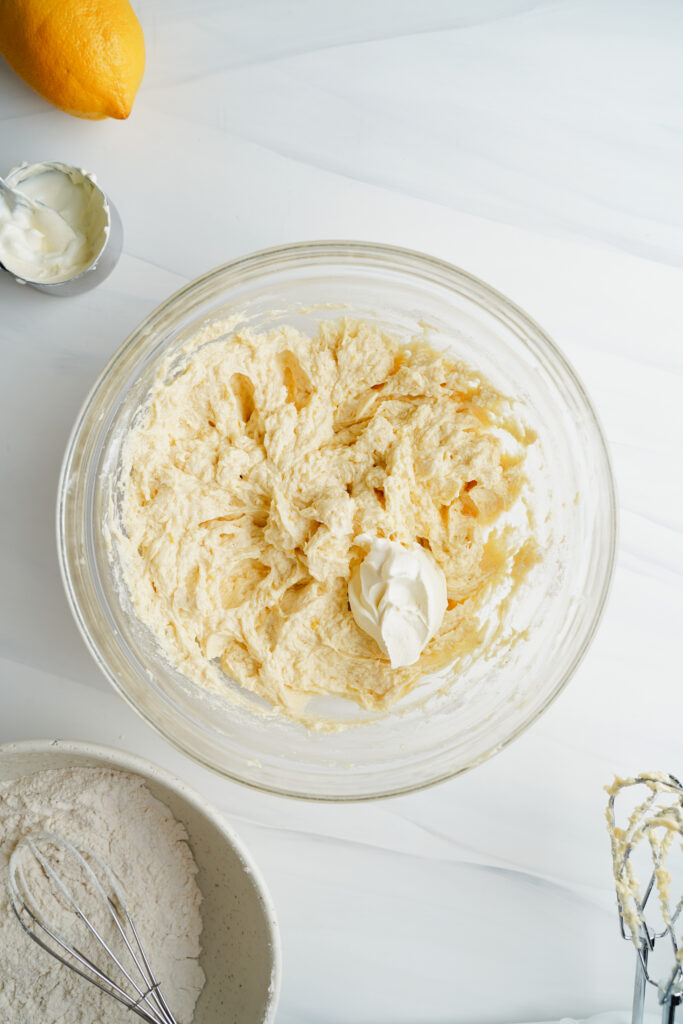
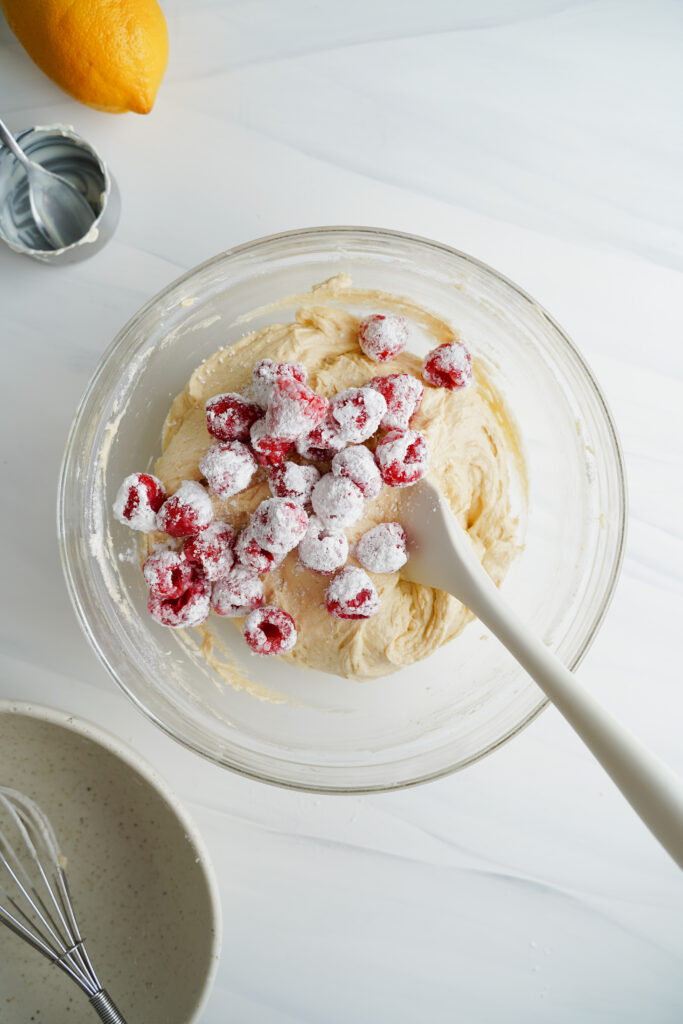
Step Four: In a medium bowl, add the raspberries and sprinkle 2 tablespoons of flour. Toss lightly to combine. Coating berries in flour helps to reduce sinking while baking.


Arrange the raspberries in the batter and, using a spatula, fold very lightly to combine.
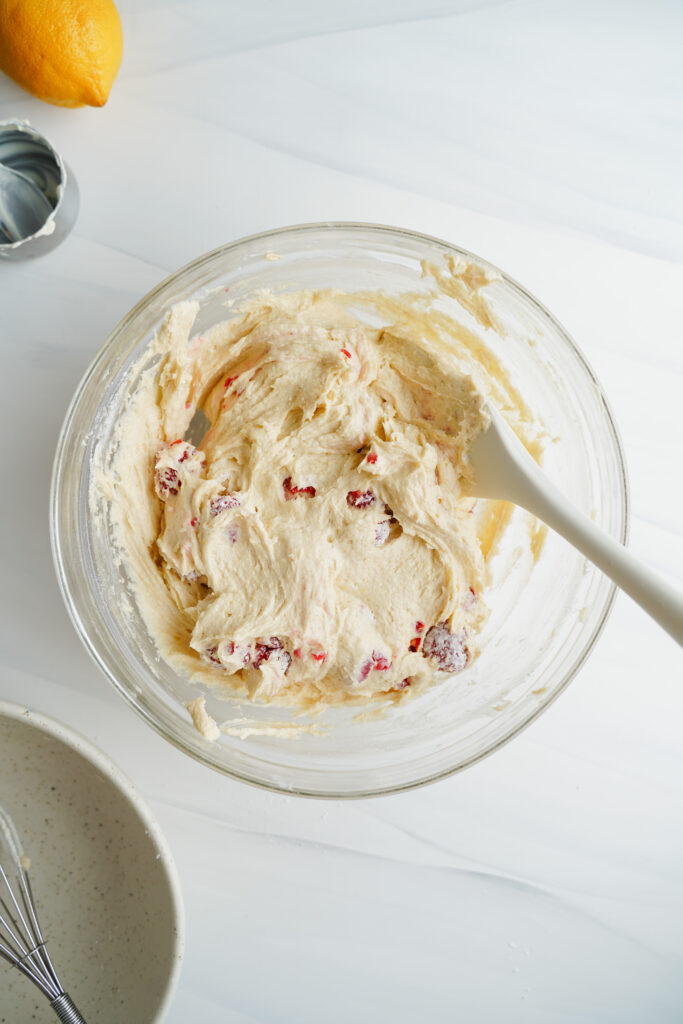
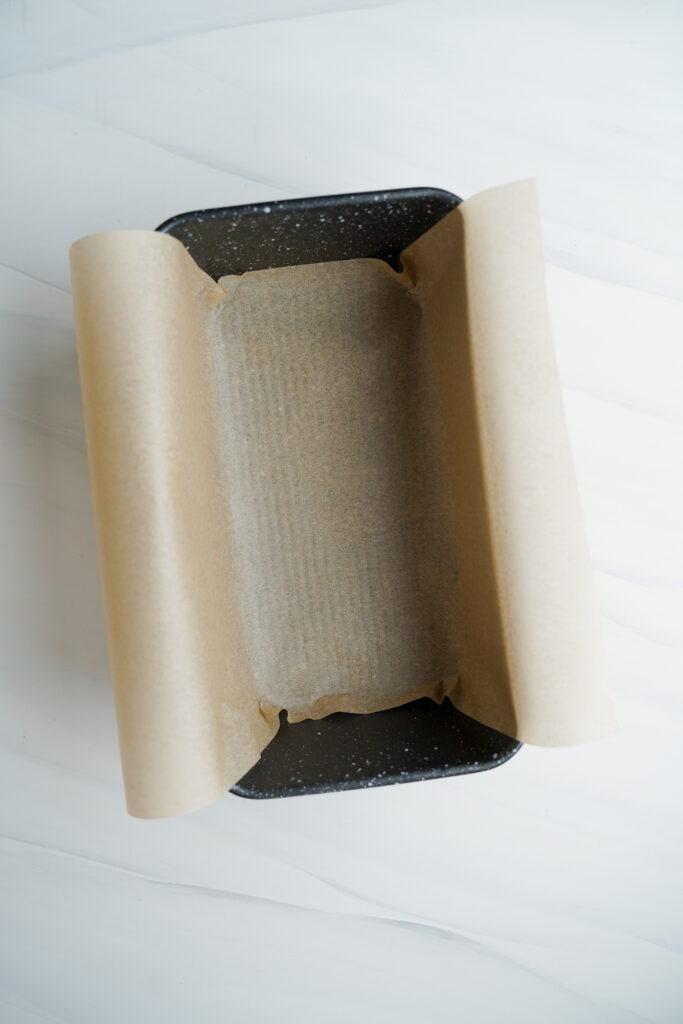
Step Five: Spray a 8×4 inch loaf pan with cooking spray. Line the pan with parchment paper, covering the surface completely. Measure an additional inch at the top, creating extra space to hold and lift the lemon raspberry loaf once done.
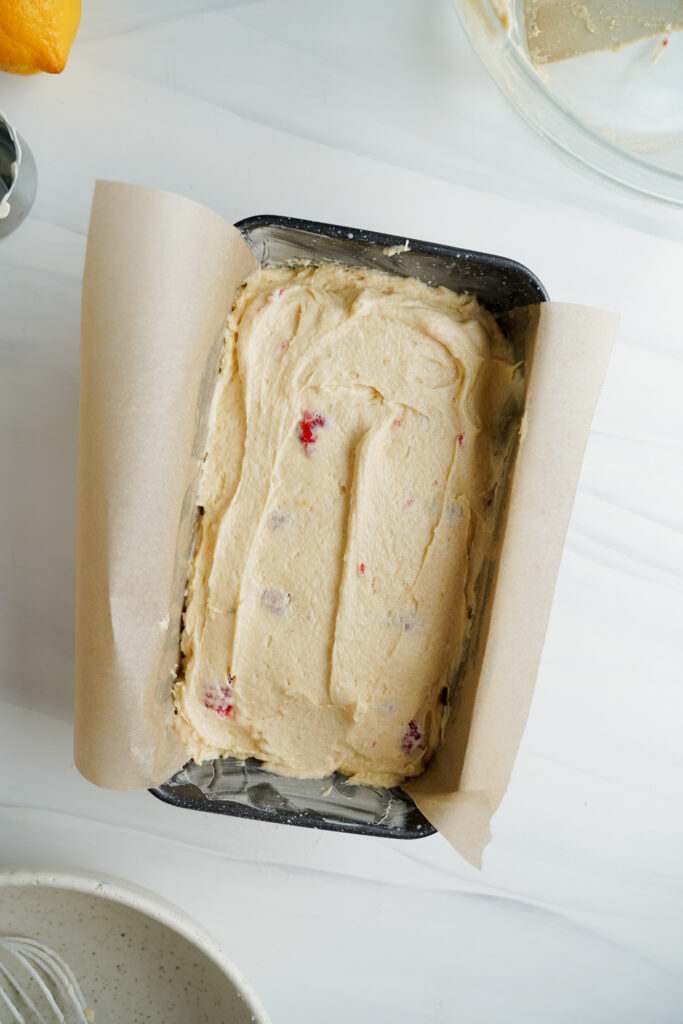
Pour the batter into the loaf pan. Smooth the top lightly with a spatula. Bake in the oven for 50 to 60 minutes, and enjoy the free smells! When ready, a toothpick inserted in the center crack of the cake should come out clean.
Step Six: Place the loaf pan atop a wire rack to cool for 15 minutes. Run a knife along the edges of the pan and use the parchment paper to lift up the cake. Allow to cool for another 15 minutes.
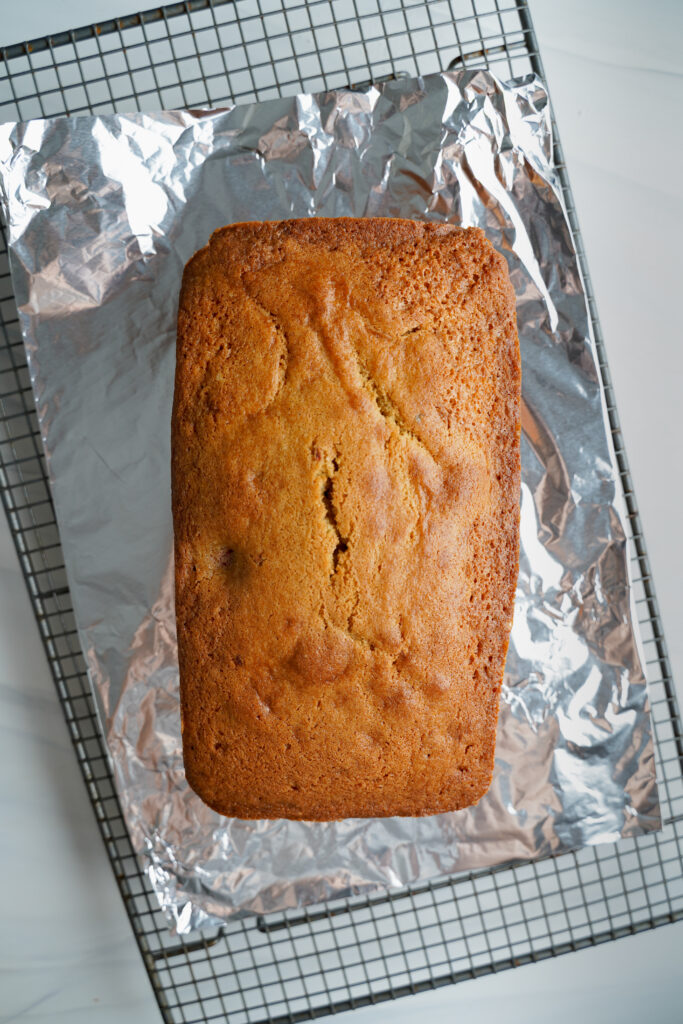
Step Seven: While the loaf is still a little warm, make the lemon glaze by stirring together the glaze ingredients in a small bowl, using enough lemon juice to make it liquidy enough to pour.

Under the cooling rack, slide a baking tray covered with tin foil to catch any drips of glaze. Spoon the lemon glaze slowly over the top of the loaf, making sure it is evenly covered. Allow it to drip down the sides a bit.
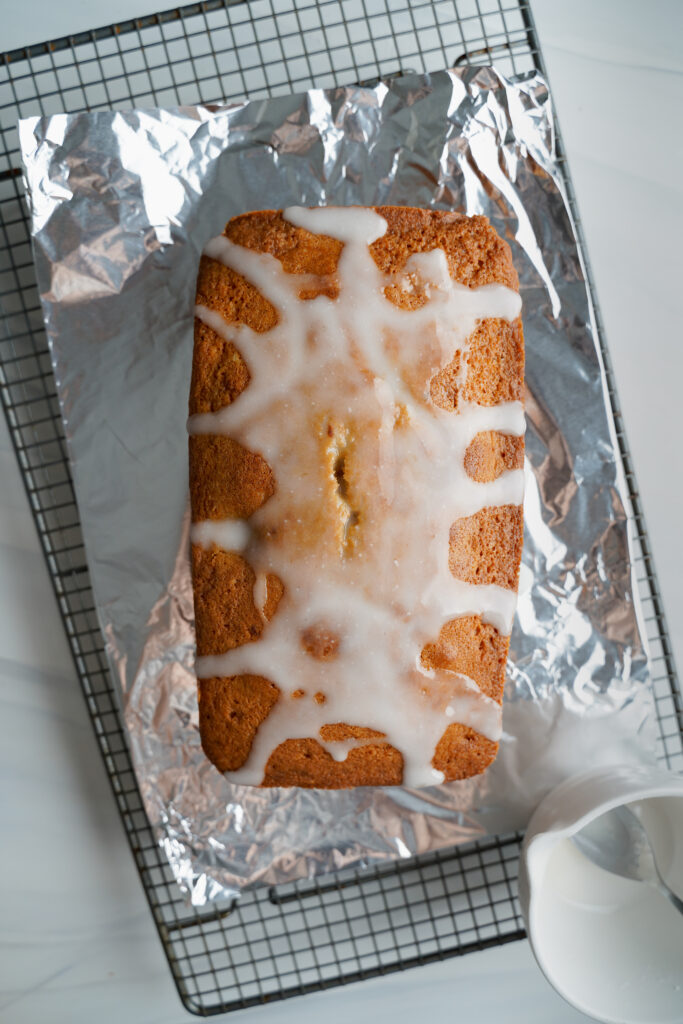
Step Eight: Allow the loaf to cool completely, then slice the loaf and enjoy with a cup of coffee or tea.

Expert Tips & Tricks
Always use fresh baking soda:
I suggest getting a new bottle of baking soda if the one in your pantry has been around for 3 months (I’ve gotten into the habit of labeling the dates when I open my baking supplies).
Don’t get me wrong – it’s still safe to use 3 month old baking soda, but it loses its leavening power over time and your lemon raspberry cake may not rise adequately.
Follow instructions closely:
Remember how I said baking is therapeutic? When the instructions say to remove from fridge to room temperature and to blend in alternately, they mean it! It will affect the way the cake turns out, so definitely try to stay present and stick to the guidelines. You’ll be happy you did!
Storage Instructions
To store in the freezer:
Slice the loaf first. This makes it much less painful to deal with, rather than slicing through a frozen loaf! Then, lock it in a freezer bag for easier access. To thaw a slice, simply remove the slice from the freezer bag and thaw at room temperature. It will be ready to enjoy in 30 minutes.
If you want to freeze the entire loaf in a freezer, then do so in a freezer bag that fits. To thaw a whole loaf, set it on the counter inside the sealer freezer bag until it has thawed.
Keep in the freezer for up to 6 months. Do not store it in the fridge because it will dry out.
To keep leftovers for a quick snack:
Place the bread in an airtight container at room temperature. It will stay fresh for up to 5 days.

Lemon Raspberry Loaf Recipe
Ingredients
Lemon Raspberry Loaf
- 1/2 cup salted butter at room temperature
- 3/4 cup white sugar
- 3 large eggs at room temperature
- 2 ½ tablespoons lemon zest
- 1 ½ tablespoons lemon juice
- 2 teaspoons vanilla
- 1 ½ cups all-purpose flour
- 1/4 teaspoon salt
- 1/4 teaspoon baking soda
- 1/4 teaspoon baking powder
- 1/3 cup sour cream removed from fridge 15 minutes before using
- 1 cup of raspberries
- A couple tablespoons of flour to mix with raspberries
Lemon Glaze
- 1/2 cup icing / confectioners’ sugar
- 1 tablespoon lemon juice plus more, as needed
Instructions
- Preheat the oven to 325 degrees Fahrenheit. Spray an 8x4-inch loaf pan with baking spray and line with a piece of parchment paper that covers the bottom and long sides, with an inch or so extending past the top of the pan (these will be the "handles" to lift the loaf out of the pan).
- In a large bowl with an electric mixer or in the bowl of a stand mixer fitted with a paddle attachment at 4 or 5, cream the butter with the sugar at medium speed until light coloured and fluffy. Get an arm workout here it should cream for about 3 minutes.
- Beat each egg in one at a time, not adding the next egg until the previous is mixed in completely- scraping down the sides of the bowl, as needed.
- Beat in the lemon zest, lemon juice and vanilla.
- In a separate bowl, whisk together well the flour, salt, baking soda and baking powder.
- With the mixer on low, add the flour mixture to the butter mixture alternately with the sour cream, starting with 1/3 of the flour, 1/2 of the sour cream, 1/3 of the flour, last of the sour cream, then finally the last of the flour.
- In a medium bowl, add the raspberries, 2 tablespoons flour, and toss lightly to combine (coating berries in flour helps to reduce sinking while baking).
- Add the raspberries to the batter and fold very lightly to combine.
- Pour the batter out into the prepared 8x4-inch loaf pan, smoothing the top lightly with a spatula. Bake in a preheated oven for 50-60 minutes, or until a toothpick inserted in the center crack comes out clean.
- Allow loaf to cool in the pan on top of a wire rack for at least 15 minutes. Then run a knife along the short ends of the loaf pan and use the parchment paper edges to lift and remove loaf from the pan. Allow to cool on a cooling rack for another 15 minutes.
- While the loaf is still a little warm, prepare the glaze by stirring together the glaze ingredients in a small bowl, adding enough lemon juice to make a pourable glaze. Place a baking tray covered with tin foil (for easy cleaning) under the cooling rack to catch any drips and spoon glaze slowly over top of loaf, allowing it to drip down the sides a bit.
- Cool completely, slice and enjoy.


