Fall is upon us, and that means pumpkin-flavored everything, from pumpkin spice lattes to pumpkin pies. I wanted to add to my Thanksgiving menu a classic pumpkin roll recipe.
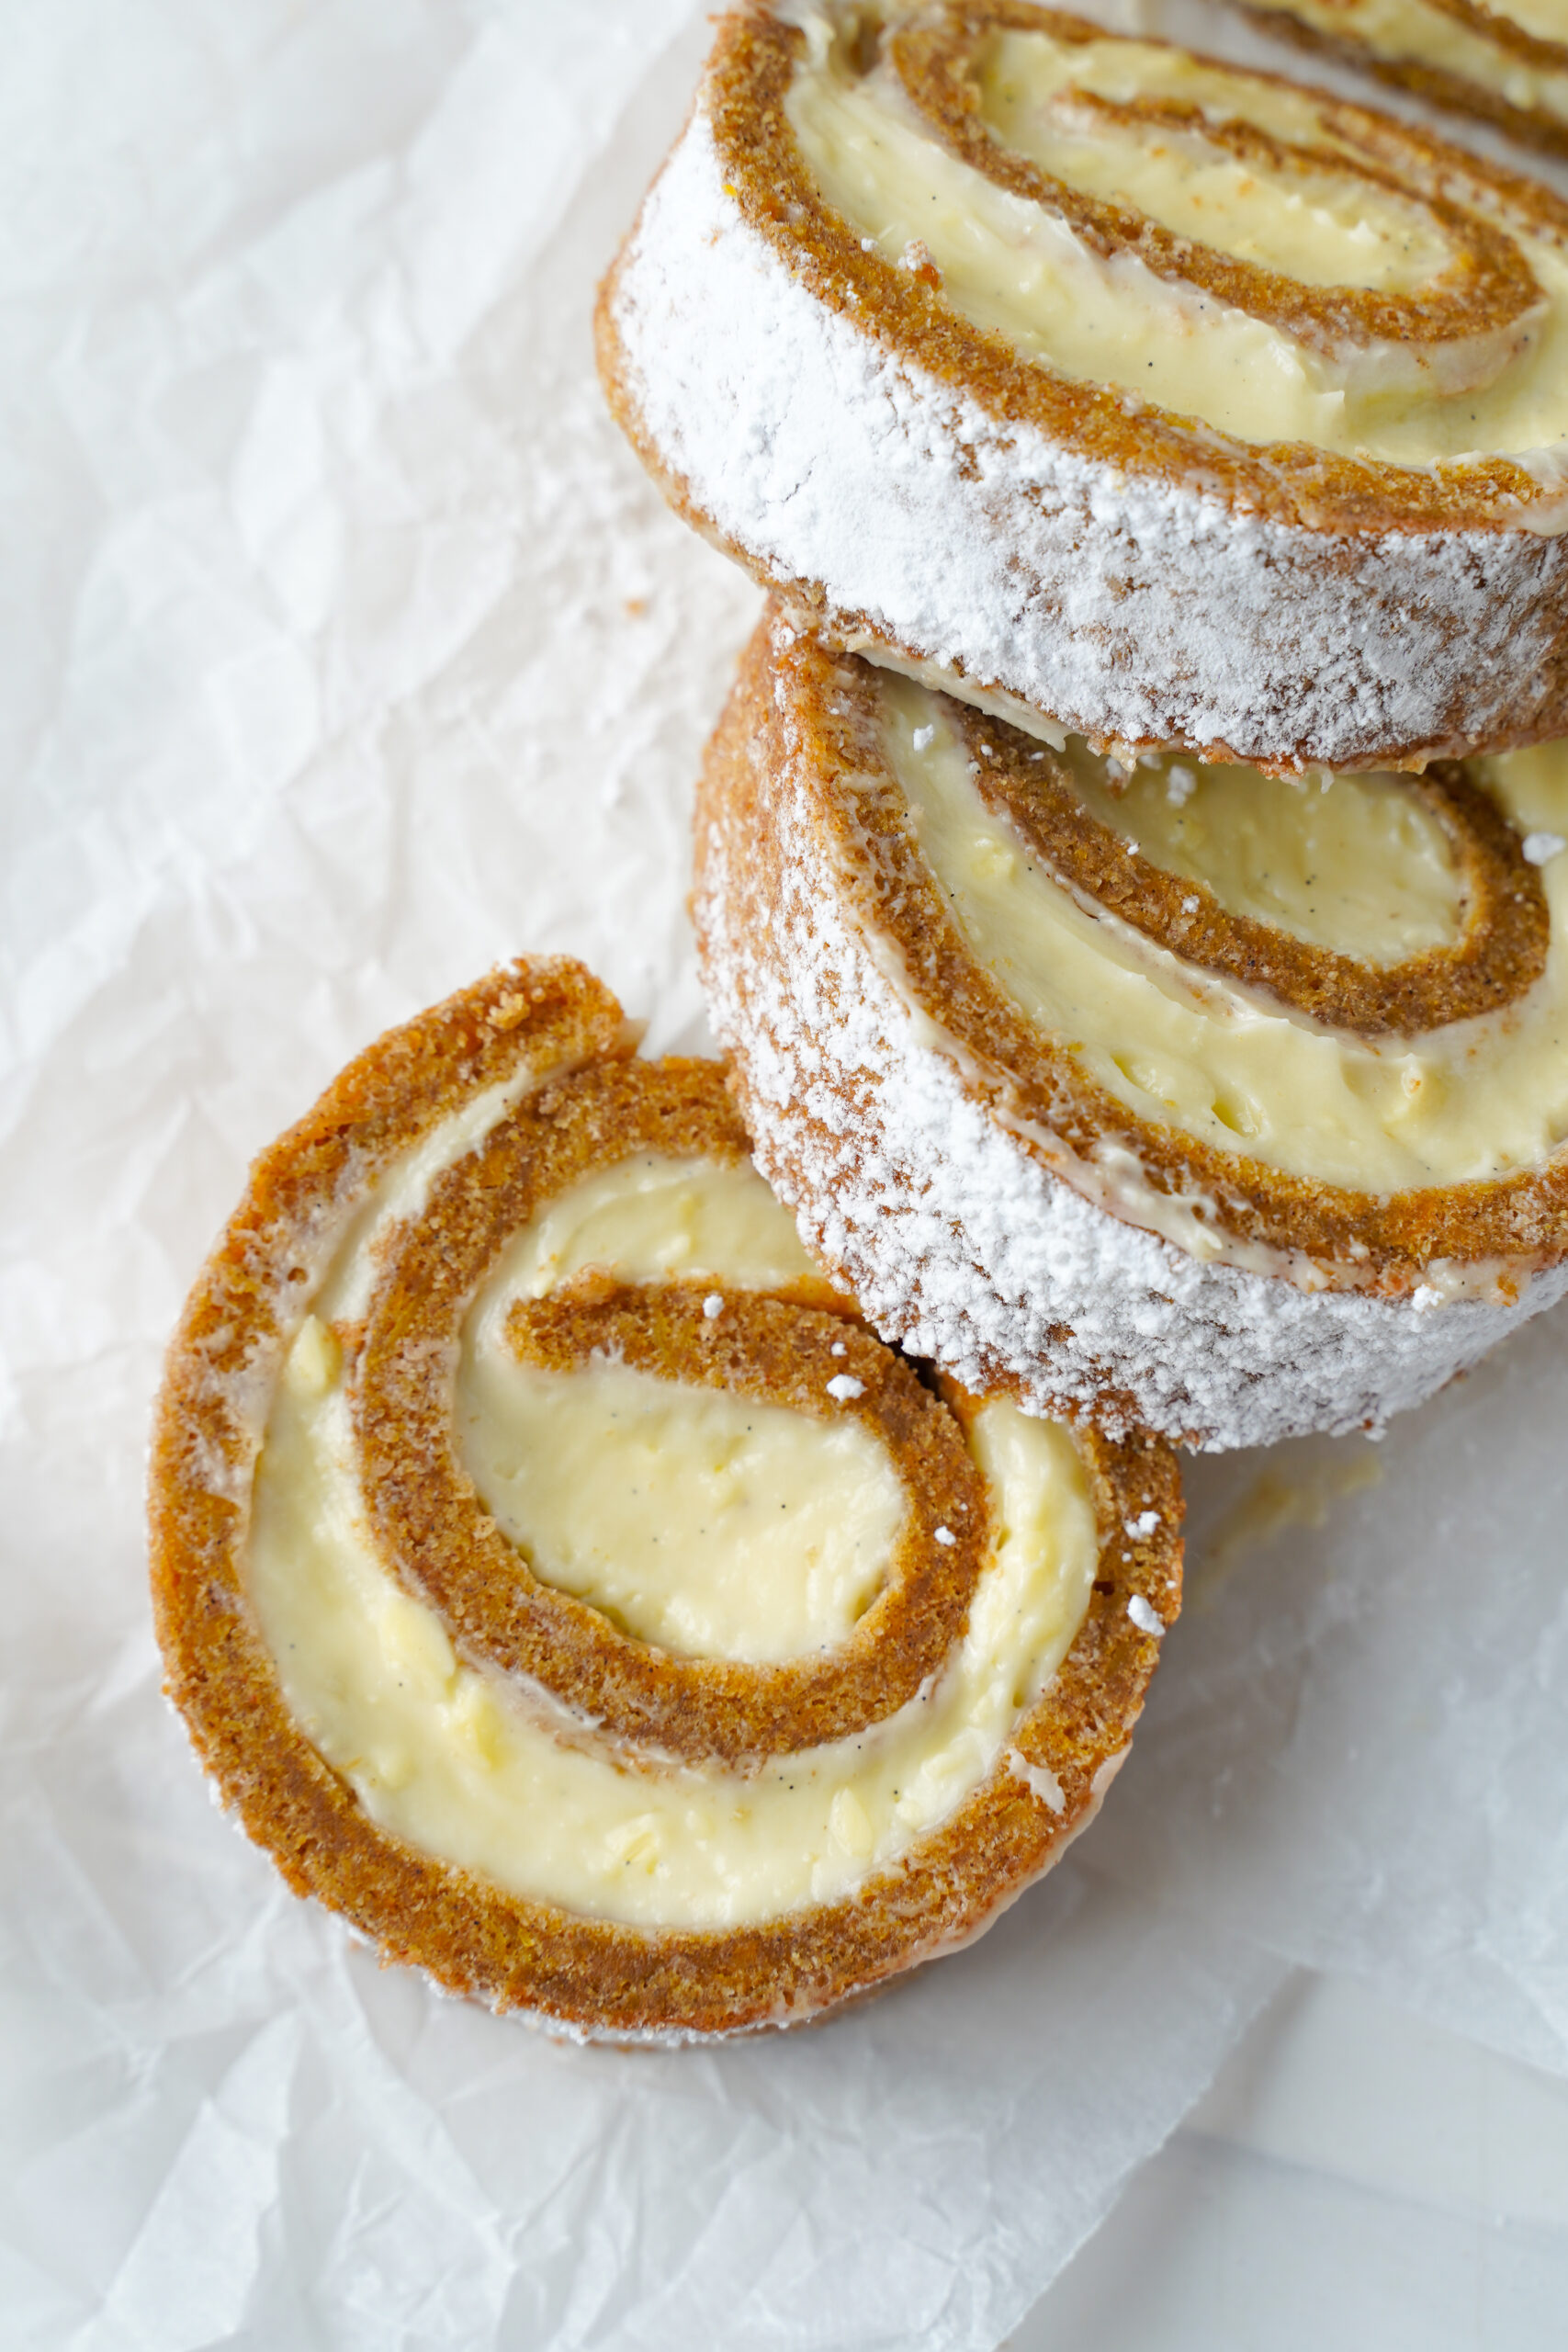
Some people call it a Swiss roll, a roulade, or simply a jelly roll. Each slice is a layer of sponge cake filled with luscious velvety cream (sometimes flavored buttercream) and rolled up. You’ll find these in tons of different flavors, like plain vanilla, chocolate, earl gray tea, and matcha, even.
With the cake batter, I made sure the pumpkin flavor would really come through. The secret ingredient is a can of pure pumpkin puree. It moistens the batter, pumps intense pumpkin flavor, and colors the cake batter a deep orange. The cream cheese filling has a deliciously sweet flavor with vanilla and a bit of tartness.
Serve this fall dessert after dinner and watch it vanish within seconds!
Recipe Ingredients
To make the pumpkin roll cake, we’ll need:
- Eggs – 3 eggs at room temperature.
- Canned pure pumpkin – I recommend Libby’s 100% pure pumpkin puree. Be sure to look for those that have no other ingredients added to the plain pumpkin. Measure ⅔ cup.
- Sugar – 1 cup of granulated sugar.
- Flour – Measure ¾ cup of all-purpose flour.
- Baking powder – The airiness of our cake depends on our leavening agent, baking powder. Measure 1 teaspoon.
- Baking Soda – Use ½ a teaspoon gives the batter an extra lift. Pumpkin puree is slightly acidic, and the baking soda reacts with it to create bubbles that help the sponge rise a little higher. This keeps the cake light yet sturdy enough to hold the cream cheese filling without feeling too thin.
- Cinnamon, Ginger powder, and Nutmeg – What’s a pumpkin dessert without some warm spices? I use a combination of 2 tsp cinnamon, 1 tsp ginger powder, and ½ teaspoon of nutmeg. Or, skip this and just use pumpkin pie spice!
- Salt – A pinch, or ½ teaspoon of salt.

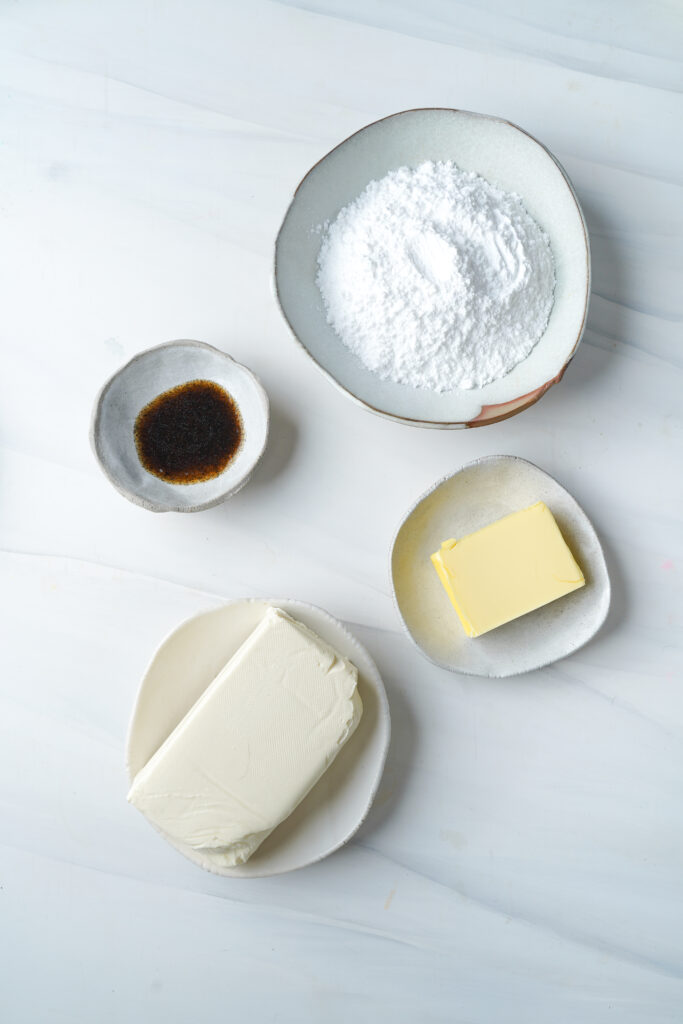
To make the melt-in-your-mouth cream cheese filling, get these ingredients:
- Cream cheese – 250g or an 8 oz packet of cream cheese. Bring to room temperature.
- Icing sugar – Icing sugar is different from granulated sugar, with a finer texture that dissolves easily. Measure 1 cup.
- Butter – Bring 4 tablespoons of unsalted butter to room temperature.
- Vanilla – For the yummiest-tasting cream, invest in a bottle of high-quality vanilla extract. I use 1 teaspoon in this recipe.
Others:
- Powdered sugar for dusting
- Avocado oil for spraying/greasing pan – Pam or another brand is fine.
How To Make This Pumpkin Roll Recipe
Prepare your equipment:
- Preheat the oven to 375°F.
- Grease a 10 x 15-inch jelly roll pan with nonstick cooking spray, then line it with parchment paper. Spray the top of the parchment with cooking spray then lightly sprinkle with flour. Set aside.
- Note: A jelly roll pan is a baking sheet that’s 10×15-inch in width and length, and 1-inch height to contain the cake. I highly recommend getting one if Swiss rolls are your next kitchen endeavor. It’ll be easier to unmold the cake later, too.
Make the pumpkin cake batter:
Step One: Whisk the flour, baking powder, spices, and salt together in a medium bowl.
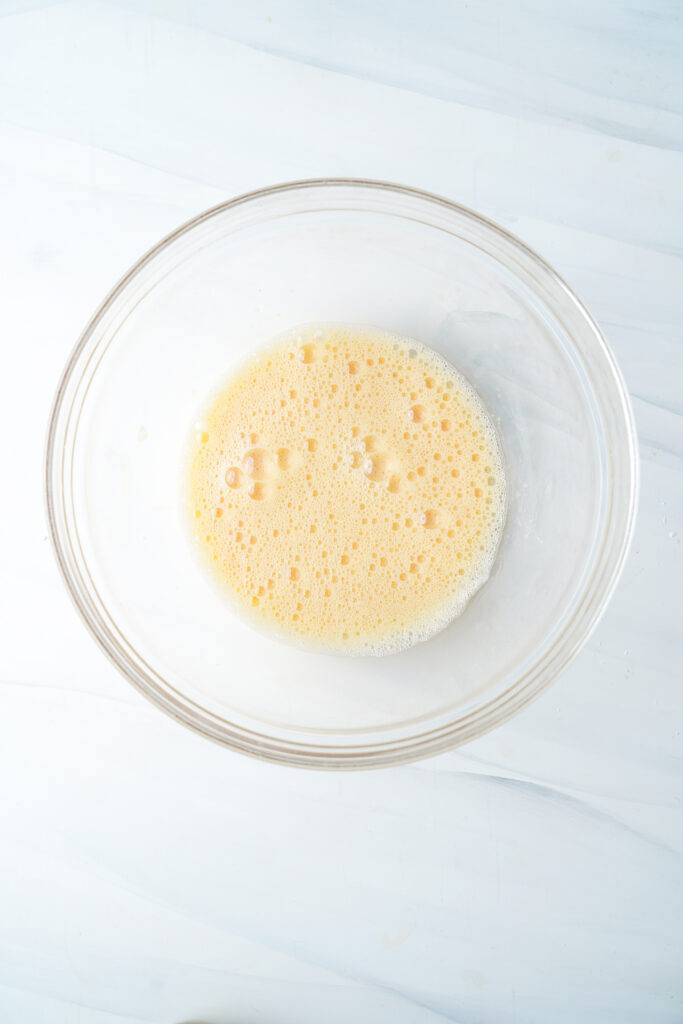
Step Two: In a large bowl, use an electric mixer on high speed to whip the eggs until they’re pale, foamy, and slightly thickened, about 3 to 4 minutes. This step builds volume and helps give the cake its light, flexible texture.
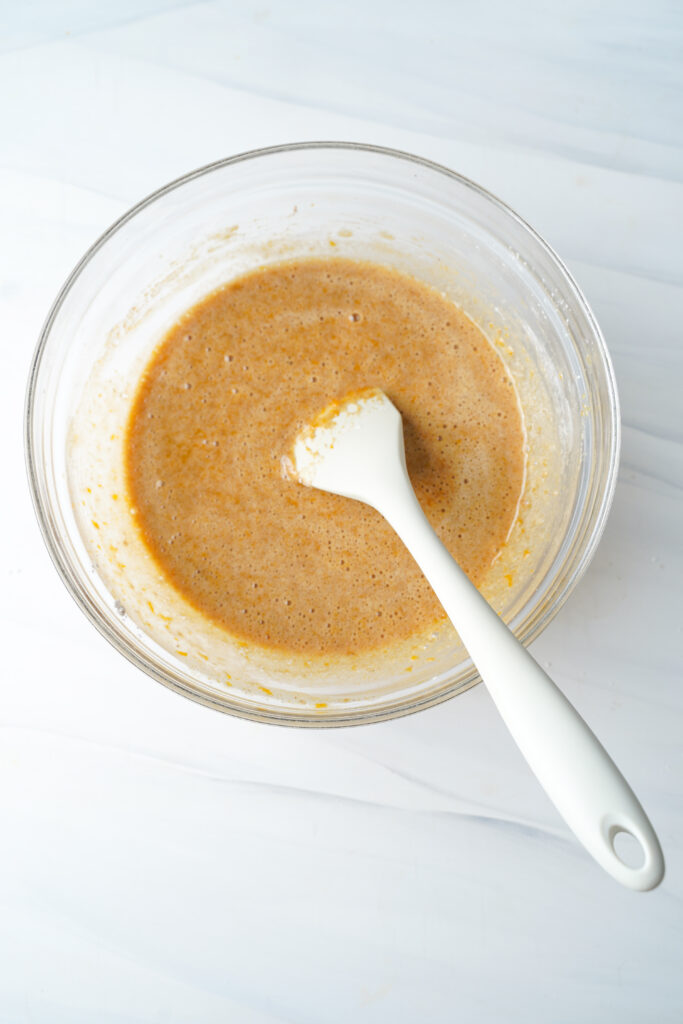
Step Three: Using low speed, gradually add the sugar and pumpkin, beating until combined. Add the dry ingredients to the wet ingredients and fold in with a rubber spatula until just combined. You should have a beautiful orange-colored batter.
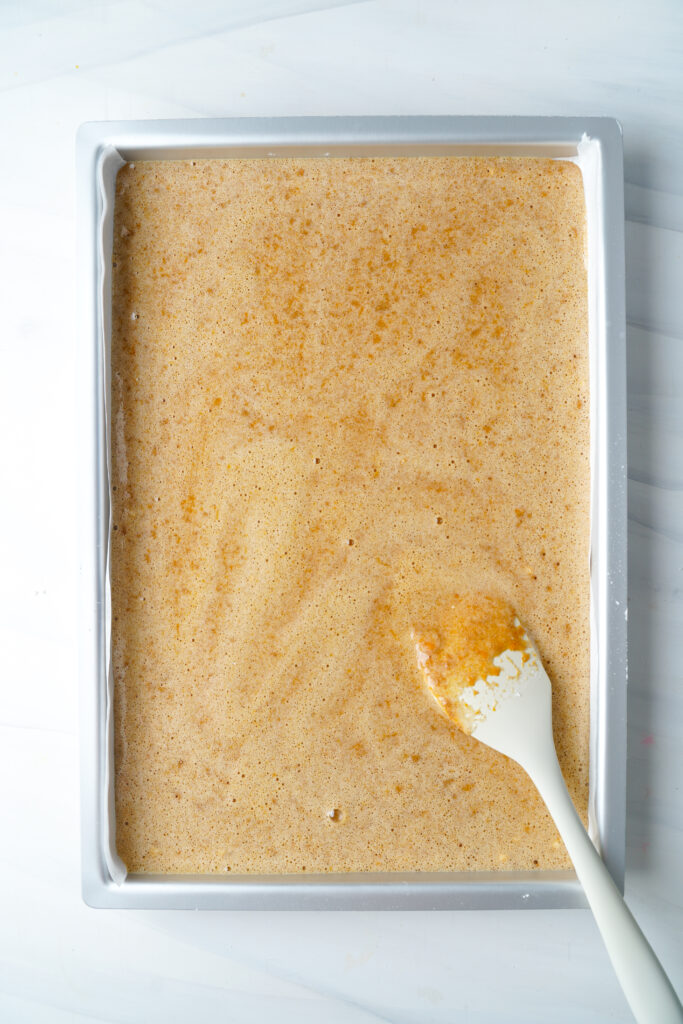
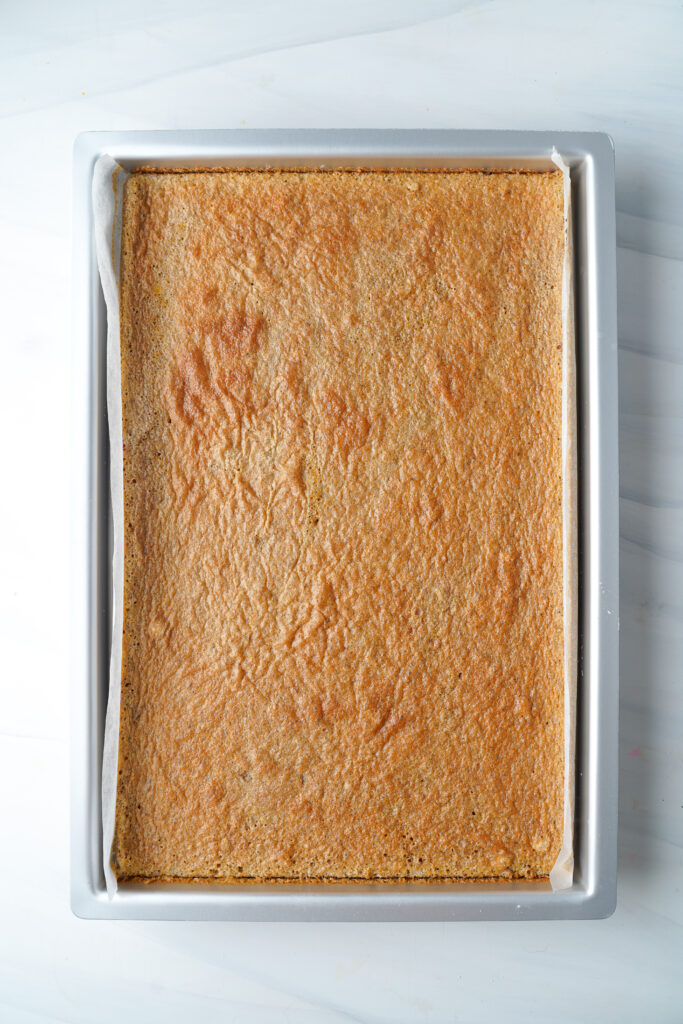
Step Four: Pour the batter into the prepared pan and spread it into an even layer. Drop the pan on the counter a few times to even out the batter and eliminate air bubbles.
Step Five: Bake the cake batter for about 15 minutes. I know it’s ready when the top springs back when lightly touched.
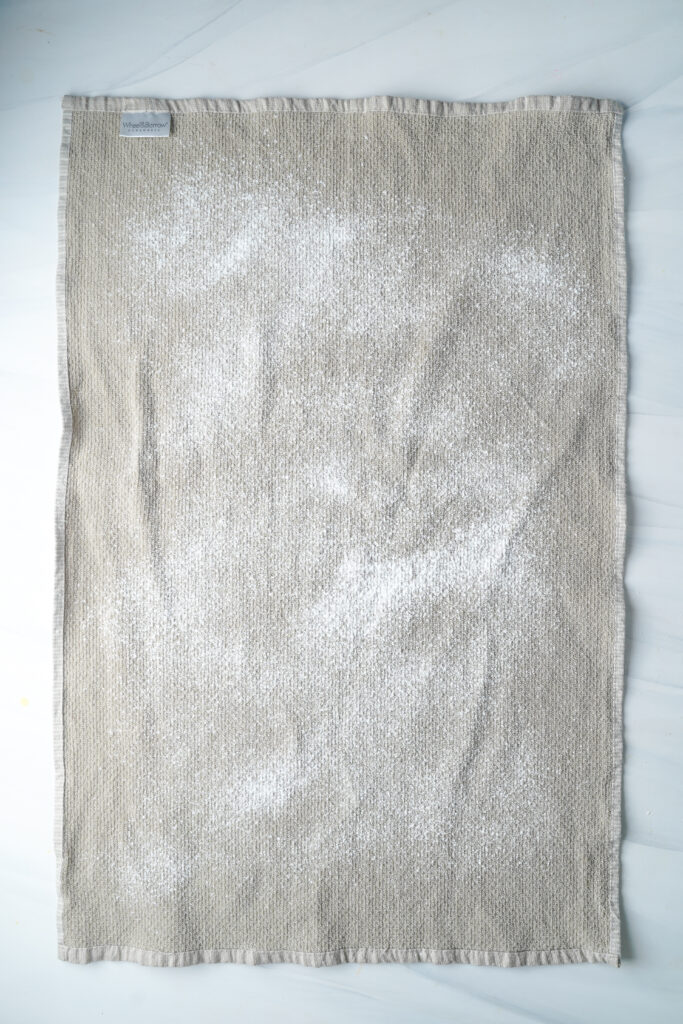
Step Six: Meanwhile, sprinkle a clean, thin, lint-free tea towel with powdered sugar and set aside. This is for rolling the cake.
Roll the cake:
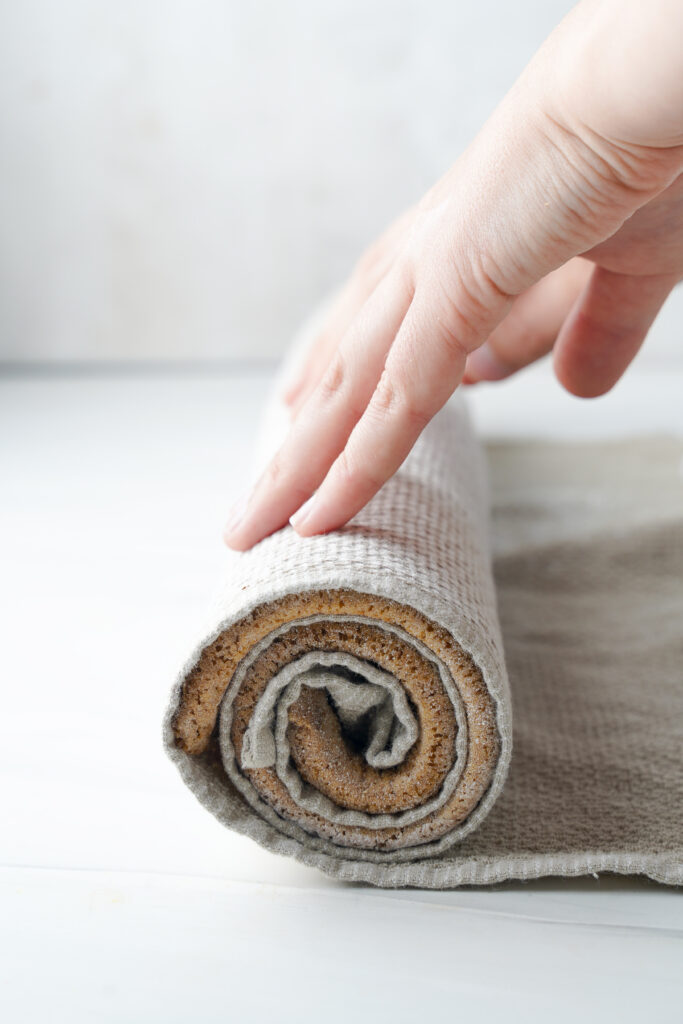
Step Seven: Once out of the oven, let the cake cool for 3 minutes. Loosen the cake from the edges of the pan and turn it upside down. Invert it onto the prepared tea towel then carefully peel off the parchment paper.

Step Eight: Slowly roll the cake in the towel, working from short end to short end. Be sure to roll tightly, too.
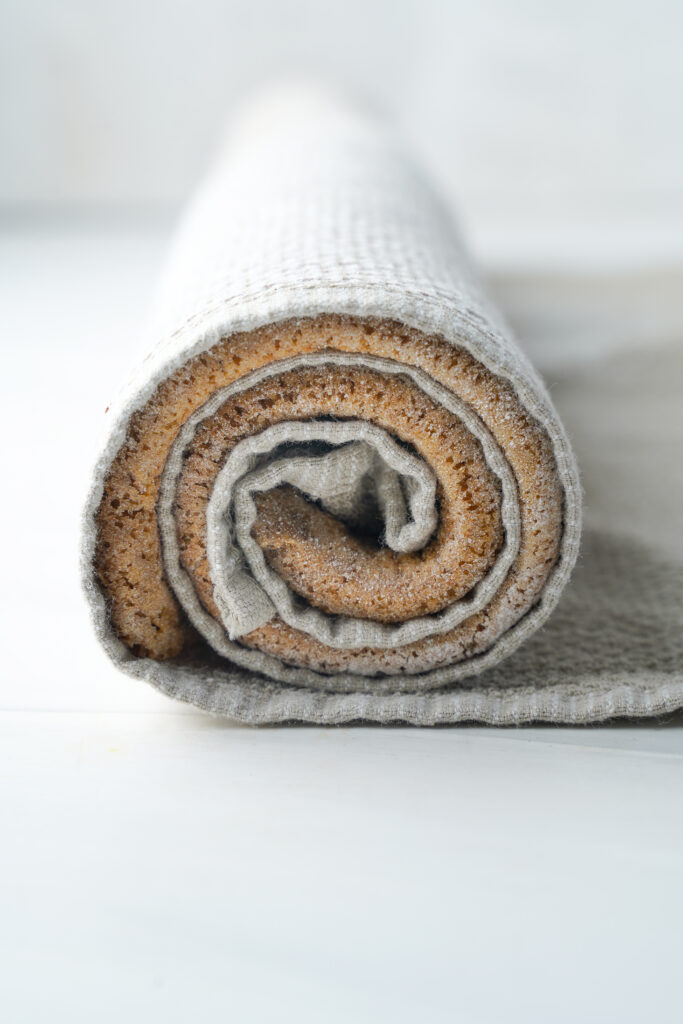
Step Nine: Transfer the cake roll in the towel to a wire rack to cool until it reaches room temperature (about 2 to 3 hours).

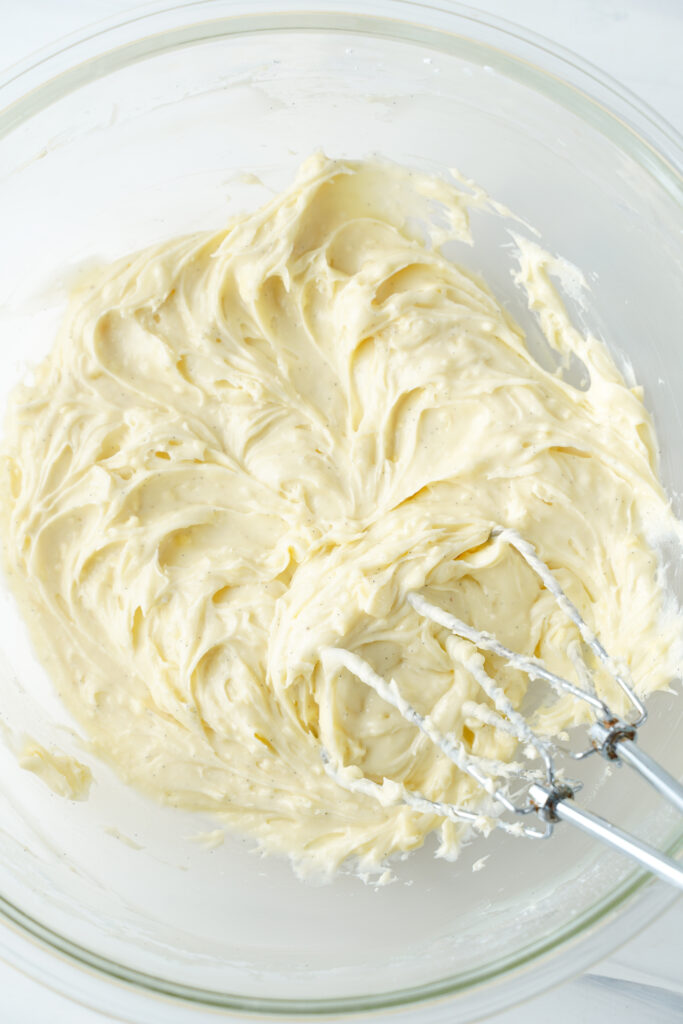
Step Ten: While the cake is cooling, make the cream cheese filling. Beat filling ingredients together until smooth.
- Pro Tip: Make sure your cream cheese and butter are at room temperature to achieve an even and smooth filling.
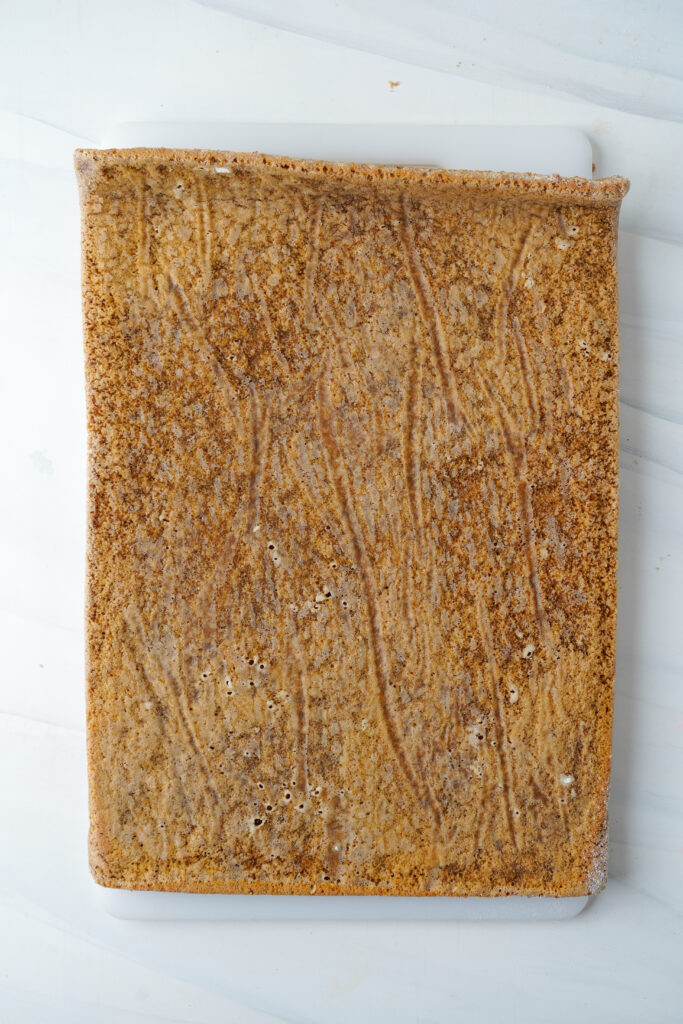
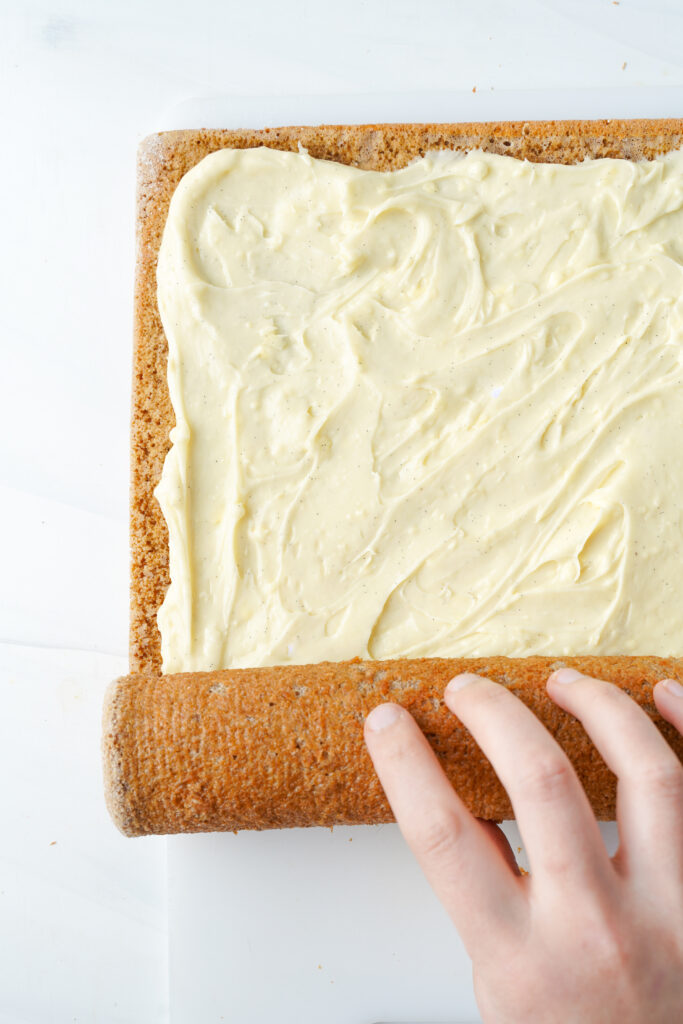
Step Eleven: Now, let’s put it together! Once the cake has cooled, transfer the cake roll to a flat surface. Carefully unroll the cake until it is flat again (the ends may curl up a bit, but that is OK), and remove the towel.
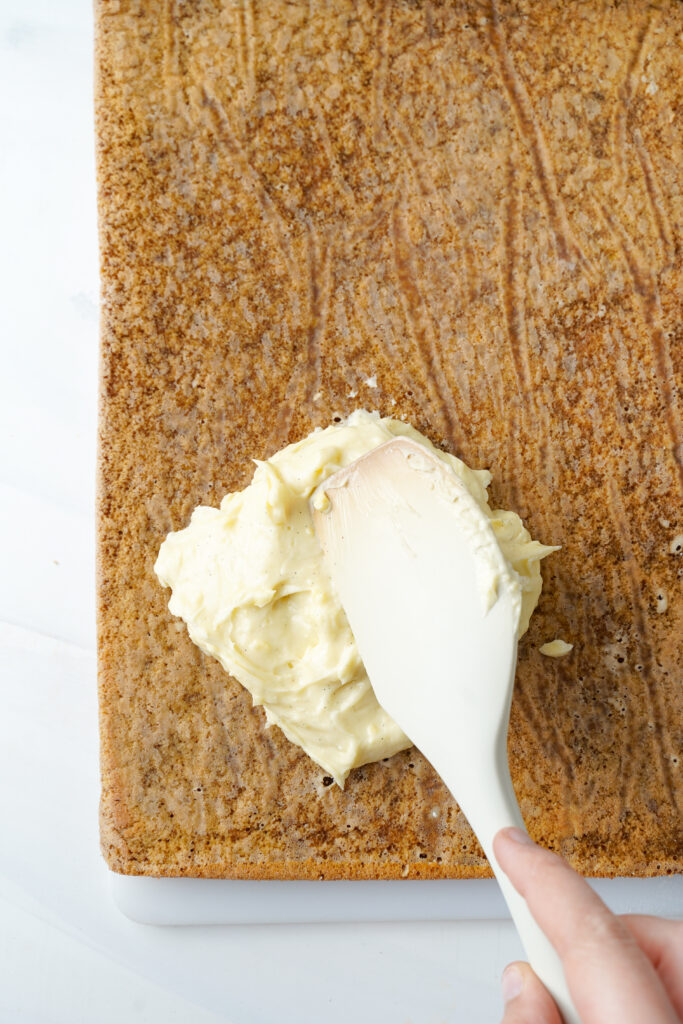
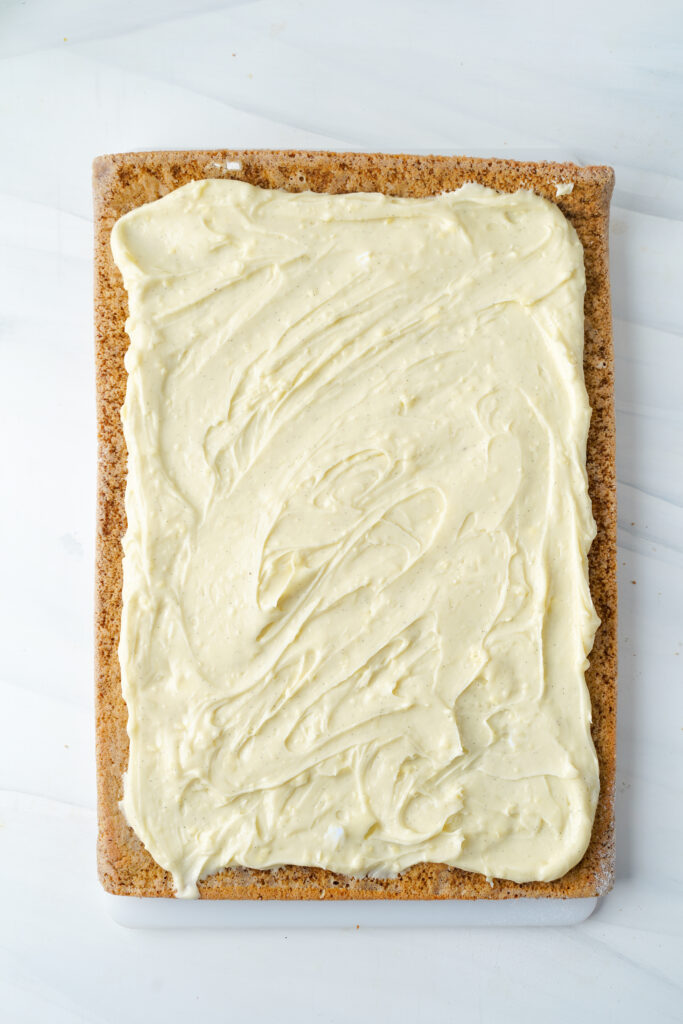
Step Twelve: Spread the cream cheese mixture evenly over the cake, leaving a ½ inch border on all sides.
Step Thirteen: Gently reroll the cake, tucking the short end into the frosting, creating a tight roll again.
Slicing and serving:
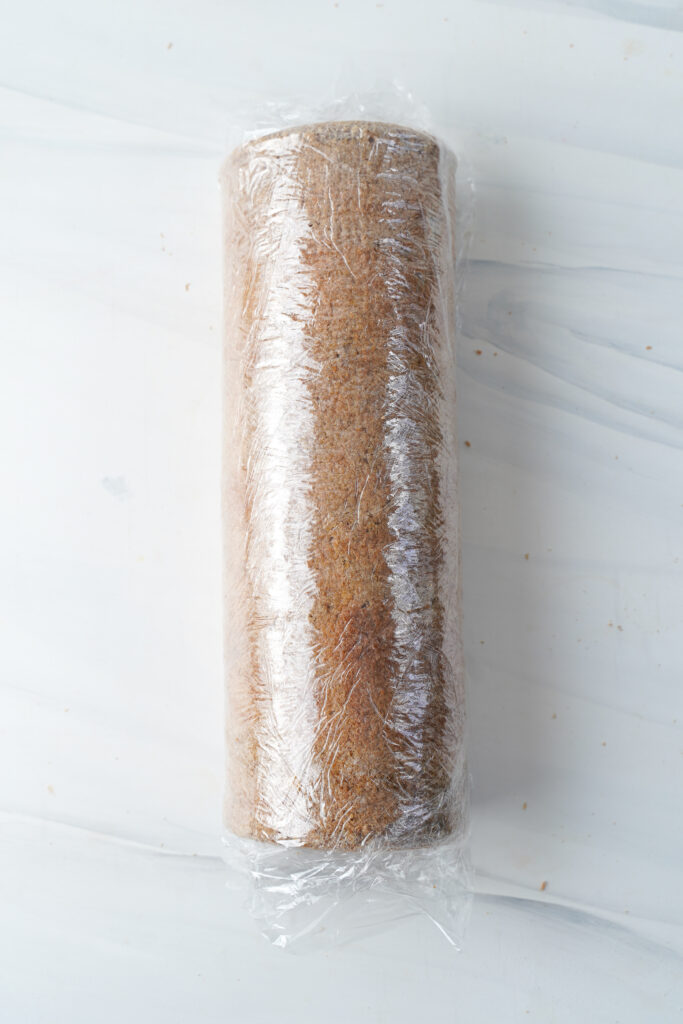
Step Fourteen: Tightly wrap the pumpkin roll in plastic wrap and refrigerate for at least one hour.
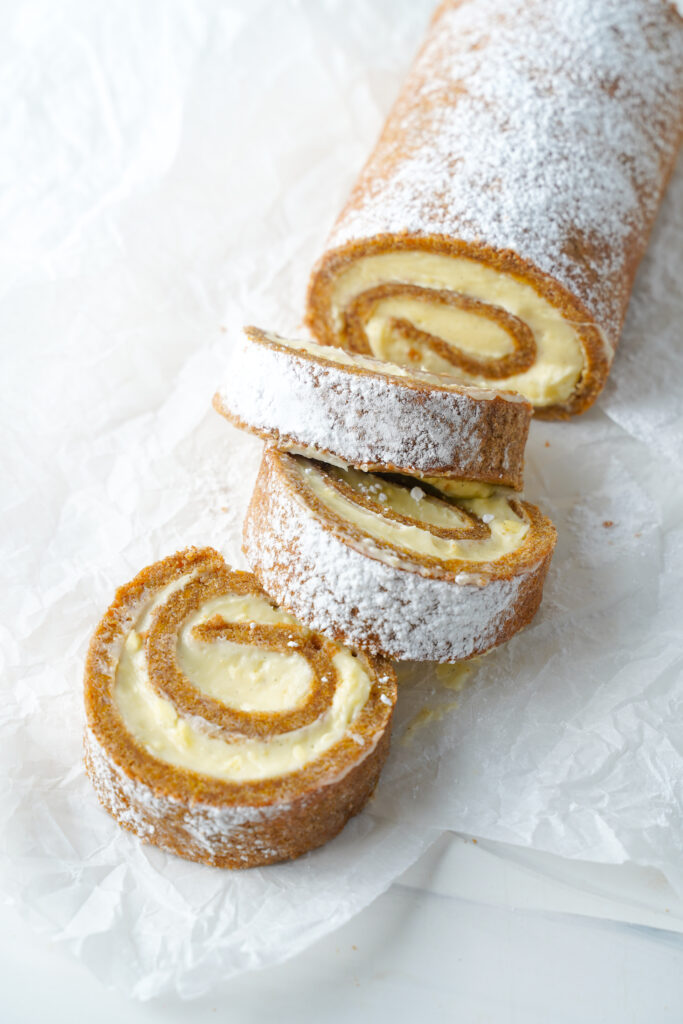
Step Fifteen: When ready to serve, unwrap the pumpkin roll and cut it into 1-inch slices. Lightly dust the pumpkin roll on all sides with powdered sugar (this step is optional but feels festive!) and this pumpkin roll recipe is ready to serve.
Frequently Asked Questions
If you’re new to making jelly rolls, it’ll be tricky. You have to flip the cake, then roll it up. The secret is really just to practice! Nobody gets it perfect the first time, so don’t get frustrated if your rolls don’t turn out pretty.
That’s a sign that your pumpkin roll is lacking moisture in the batter. It also means it may be overcooked due to too much heat or too long in the oven. Or, perhaps you left it to cool completely before rolling it up the first time – don’t let it cool down!
What gives pumpkin roll the spongy effect is the airiness in the batter, with the yeast action and the mixing process. Make sure you nail those and you’ll have a spongy pumpkin roll cake.
A sticky surface on the pumpkin roll is quite common, but it can be prevented by dusting some icing sugar and making sure to spray the parchment paper with grease first before pouring in the batter.
Expert Tips & Tricks
- Roll the cake while it’s still warm: After baking the pumpkin roll, remove it from the oven. Don’t let it cool down for too long! We want the cake to take its shape while it’s still warm.
- Leave borders around the cake: When it’s time to fill the pumpkin roll, spread a generous amount of that cream cheese filling evenly over the cake. But don’t forget to leave a small border around the edges to prevent the filling from oozing out when you roll it up.
- Chill the pumpkin roll: Once you’ve rolled up the pumpkin roll, wrap it in plastic wrap and chill it in the refrigerator for at least 1 hour. This will help it hold its shape and allow the cream filling to firm up, making it easier to slice.

How To Store + Freeze A Pumpkin Roll
I get how busy the holiday season can get, so I totally get it if you want to make pumpkin rolls in advance. Follow all the steps above and pop it in the fridge for up to a week!
To store it in the fridge, simply place it in an airtight container. I sometimes recommend ziplock bags but that won’t make sense in this case. That precious cream cheese filling will go to waste! Though homemade pumpkin roll has no preservatives, it can last for up to a week in the refrigerator. Serve chilled with a cup of coffee or tea.
Freeze individual slices of pumpkin roll in a freezer-safe bag or container for up to 3 months. Thaw overnight in the fridge a day before serving.
Pumpkin Roll Recipe
Ingredients
Cake
- 3 eggs room temperature
- 1 cup granulated sugar
- 2/3 cup canned pure pumpkin
- 3/4 cup flour
- 1 teaspoon baking powder
- 1/2 teaspoon baking soda
- 2 teaspoons cinnamon
- 1 teaspoon ginger powder
- 1/2 teaspoon nutmeg
- 1/2 teaspoon salt
Cream Cheese Filling
- 8 ounces cream cheese softened to room temperature
- 1 cup icing sugar
- 4 tablespoons butter softened to room temperature
- 1 teaspoon pure vanilla extract
To Top It Off
- powdered sugar optional topping
Instructions
CAKE
- Heat oven to 375°F. Grease a 10x15-inch jelly roll pan with nonstick spray. Line it with parchment paper, letting the paper hang over the long sides by about an inch to create handles for lifting the cake out. Lightly coat the parchment with cooking spray as well and set aside.
- Whisk the dry ingredients together in a medium bowl.
- Using the high speed of an electric mixer or with a hand mixer in a large bowl, beat the eggs until slightly thickened and frothy, about 3 minutes.
- On low speed, mix in the sugar and pumpkin until just combined. Then, use a rubber spatula to gently fold in the dry ingredients until no streaks remain.
- Pour the batter into the prepared pan and spread into an even layer and drop the pan on the counter a few times to even and eliminate air bubbles.
- Bake until the top springs back when lightly touched, about 12 - 15 minutes.
- Meanwhile, dust a clean, thin kitchen towel with powdered sugar and set aside. Or once done baking you can use my new favourite easy (and less messy) method, roll the cake right in the parchment from the pan.
- If using a towel, loosen the edges of the cake, turn it upside down (invert) onto the prepared tea towel, and carefully peel off the parchment paper. If rolling in parchment, skip inverting and roll the cake up directly in the paper.
- Slowly, tightly, roll the cake in the towel or parchment paper, working from short end to short end.
- Transfer the wrapped cake roll to a wire rack to cool until it reaches room temperature - about 2 to 3 hours.
CREAM CHEESE FILLING
- While the cake is cooling, make the cream cheese filling. Beat filling ingredients together until smooth.
PUTTING IT TOGETHER
- Once the cake has cooled, transfer the cake roll to a flat surface. Carefully unroll the cake until it is flat again (the ends may curl up a bit, that is OK) and remove the towel or parchment paper.
- Spread the cream cheese mixture evenly over the cake, leaving a ½ inch border on all sides.
- Gently and slowly roll the cake back up, tucking the short end into the frosting creating a tight roll and continuing to roll short end to short end. Some frosting may spill out the sides - that is OK.
- Tightly wrap the pumpkin roll in plastic wrap and refrigerate for at least one hour.
- When ready to serve, unwrap the pumpkin roll and cut into 1 inch slices. Lightly dust the pumpkin roll on all sides with powdered sugar, this step is optional. Cut into 1 inch slices and serve.


0 Comments