
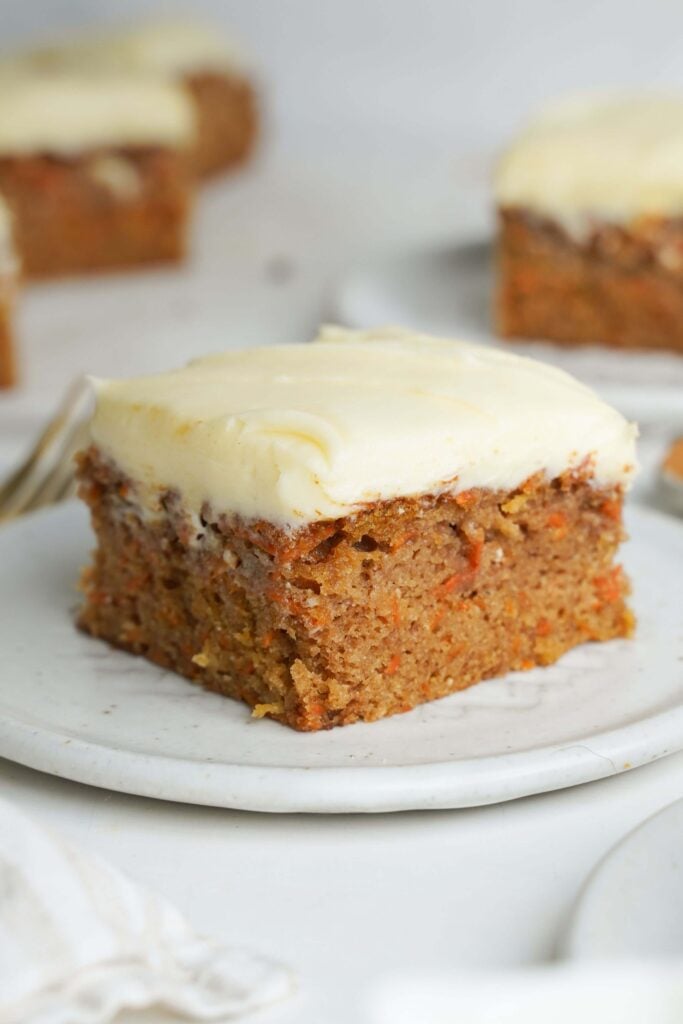
Who else LOVES lemon bars?! For me, they’re one of my all-time favorite desserts! Bright, tangy, buttery perfection. This lemon bars recipe is one I’ve tested to perfection, made with an easy, melt-in-your-mouth shortbread crust and a smooth lemon filling that strikes just the right balance of sweet and tart. I love a generous bite, which is why I created this recipe in a 9×9-inch pan, giving you that perfect ratio of thick lemon filling to buttery crust. If life gives you lemons, this is the recipe to make. Whether you’re bringing dessert to a spring brunch, prepping for a holiday tray, or just craving something citrusy and nostalgic, this is the kind of recipe you’ll come back to again and again.
Recipe Ingredients
This lemon bars recipe is made with simple, staple ingredients—but knowing why each one matters is what takes them from basic to bakery-level. Here’s what you’ll need:

For the Shortbread Crust
- All-Purpose Flour – The structural base of the crust. It provides the right amount of sturdiness to hold the lemon layer without being too dense.
- Granulated White Sugar – Adds sweetness and helps create that just-crisp-enough bite in the shortbread.
- Unsalted Butter (Cold + Cubed) – Cold butter is key to getting that bakery-style shortbread crust. When it hits the oven, it releases steam and creates flaky, tender layers. Melted or room-temp butter just doesn’t give the same texture—it’ll leave you with something too dense or greasy. Trust me, starting with cold, cubed butter is the tiny detail that makes a big difference.
- Salt – Just a touch sharpens all the flavors and keeps the crust from tasting flat.
- Vanilla Extract – Adds a subtle warmth and depth that balances out the tart lemon layer on top.
For the Lemon Filling
- Eggs – Eggs are what give the lemon filling its rich, custardy texture and help it set properly. But here’s the thing—when I first started testing lemon bar recipes, I was shocked by the range I found. Some recipes called for just 2 eggs, other recipes used as many as 8! More eggs make the filling firmer, almost like a lemon curd or baked custard. Fewer eggs keep it soft, but it can end up runny or not slice cleanly. After testing and re-testing, I found 4 large eggs to be the sweet spot. They give the bars just enough structure to hold their shape while keeping that smooth, tangy, melt-in-your-mouth bite.
- Granulated White Sugar – Sweetens the filling and balances out the sharpness of the lemon juice without dulling its brightness. It also plays an important role in helping the filling set. Sugar works together with the eggs to create that smooth, custard-like texture. If you cut back too much, the filling won’t set properly and may turn out too soft.
- All-Purpose Flour – A bit of flour thickens the filling just enough to keep it from being runny. It also helps create a soft, smooth bite.
- Freshly Squeezed Lemon Juice – For this recipe, fresh lemon juice isn’t just recommended—it’s essential. Bottled lemon juice can taste overly acidic and lacks the natural oils and bright citrus flavor you get from squeezing fresh lemons. If you want lemon bars that truly shine, fresh juice makes all the difference. Trust me, it’s worth every squeeze.
- Lemon Zest – Zest might seem like a small thing, but it makes a big impact. It holds the essential oils of the lemon, which means even more flavor without added tartness. Don’t skip it—it brings that extra “wow” to every bite.
- Baking Powder – This isn’t in every lemon bar recipe, but I like to add just a touch. It helps the filling rise slightly while baking, giving the top a smooth, lightly lifted finish without cracks or sinkage.
For Serving
- Powdered Sugar – Sifted on top for a classic lemon bar finish. It not only looks pretty, but adds just the right touch of sweetness.

Step-by-Step Instructions
Step One: Preheat & Prepare the Pan – Preheat your oven to 350°F (175°C). Butter a 9×9-inch baking dish and line it with parchment paper, leaving a bit of overhang on the sides to make it easy to lift the bars out later.
Step Two: Make the Shortbread Crust – In a food processor, combine the flour, sugar, and salt. Add the cold, cubed butter and vanilla extract, then pulse until the mixture starts to come together and resemble a crumbly dough. (No food processor? A pastry cutter or clean hands work too.)

Step Three: Press & Bake the Crust – Press the dough firmly and evenly into the bottom of the prepared pan. Bake for 23 to 26 minutes, or until the edges are lightly golden and the top feels set.


Step Four: Poke Fork Holes – Remove the pan from the oven and, while the crust is still hot, use a fork to gently poke shallow holes all over the surface (but don’t go all the way through). This helps the lemon filling stick to the crust and keeps it from separating.


Step Five: Make the Lemon Filling – While the crust is baking, combine the sugar and lemon zest in a mixing bowl and rub them together with your fingers to release the oils and make the bars extra-lemony. Add the lemon juice, flour, baking powder, and eggs. Using a hand mixer, beat the mixture until fully combined and no flour streaks remain.


Step Six: Bake with the Filling – Pour the lemon filling over the hot crust and return to the oven. Bake for approximately 30 minutes, or until the center is just set and doesn’t jiggle when you gently shake the pan. The edges should be lightly golden.


Step Seven: Cool & Chill – Remove from the oven and let the bars cool completely in the pan. Once cool, refrigerate for at least 6 hours (or overnight) to allow the filling to fully set for clean slicing.
Step Eight: Slice into Squares – Use the parchment paper overhang to lift the bars out of the pan. Cut into squares with a sharp knife, wiping the blade clean between cuts for neat edges.

Step Nine: Dust & Serve – Just before serving, dust the tops with powdered sugar using a fine mesh sieve or sifter. Enjoy chilled or at room temperature.

How to Adapt Lemon Bars for a 9×13 Pan
I’ve also tested this lemon bars recipe in a standard 9×13-inch baking dish, and it works beautifully—no need to double the recipe. The bars will bake up with a more classic lemon bar thickness, but still set perfectly and slice cleanly. I personally love a thick, generous lemon layer (which is why this recipe is written for a 9×9 pan), but if you’re going for that bakery-style bar or serving a larger crowd, the 9×13 version is a great option. Just reduce the bake time slightly—by about 5 minutes for both the crust and the lemon filling—to account for the thinner layers.
Frequently Asked Questions
That pale, powdery-looking layer is totally normal and happens when air bubbles rise to the surface of the lemon filling while baking. It’s most common if the filling is vigorously whisked or beaten, which incorporates extra air. It doesn’t affect the flavor at all! A light dusting of powdered sugar before serving will cover it beautifully.
Yes, they do. The filling contains eggs, so they should be stored in the fridge once fully cooled. They’re best enjoyed chilled or at room temperature (after sitting out for 10–15 minutes), but always store leftovers in an airtight container in the fridge.
Absolutely! Lemon bars freeze surprisingly well. Once chilled and cut, layer them between parchment in an airtight container and freeze for up to 3 months. Thaw overnight in the fridge or at room temp for about an hour before serving. Add fresh powdered sugar after thawing for the best look.
I really don’t recommend it. Bottled lemon juice lacks the natural oils and brightness of fresh lemons, and can leave the bars tasting dull or overly acidic. If you’re baking from scratch, freshly squeezed lemon juice is worth every squeeze.

Expert Tips & Tricks
- Don’t Reduce The Sugar – It might be tempting to cut back on sugar, but in this recipe, sugar isn’t just about sweetness. It balances the tartness of the lemons and works with the eggs to create that smooth, custardy filling. Reducing the sugar too much can throw off that structure, making the bars more likely to crack as they bake and cool.
- Grease And Line Your Pan Well – Lemon bars like to stick, so don’t skip this step! Butter your pan and line it with parchment paper, making sure it covers the bottom and sides, leaving an overhang for easy removal. Once chilled, run a thin, sharp knife along the edge of the pan, then use the parchment “handles” to lift the whole slab out onto a cutting board to slice.
- Don’t Overbake The Filling – The lemon layer should be just set. Give the pan a gentle shake—if the center no longer jiggles, it’s done. Overbaking can lead to cracks or a rubbery texture.
- Chill For At Least 6 Hours – Chilling is non-negotiable. It gives the bars time to fully set, which means cleaner slices, better texture, and even more developed flavor. Overnight is best if you have the time, but 6 hours is the minimum.
- Wipe Your Knife Between Cuts – For sharp-edged squares, wipe your knife clean with a damp paper towel between each slice. It’s a tiny thing that makes a big difference in presentation.

Make Ahead, Storage & Freezing
Make Ahead: Lemon bars are one of those desserts that are meant to be made ahead. They actually taste even better the next day once they’ve had time to chill and set overnight. You can bake them 1–2 days in advance and store them covered in the fridge until you’re ready to slice and serve.
Storage: Store lemon bars in an airtight container in the refrigerator. They’ll stay fresh for up to 5 days. If you’ve already dusted them with powdered sugar, you may want to add a fresh sprinkle before serving, as it tends to dissolve over time in the fridge.
Freezing Instructions: Yes, lemon bars freeze beautifully! Once fully chilled and sliced, layer them between parchment paper in an airtight freezer-safe container. Freeze for up to 3 months. To serve, thaw overnight in the fridge or at room temperature for about an hour. Wait until after thawing to add powdered sugar so it doesn’t melt into the surface.
Love All Things Lemon? If you’re as lemon-obsessed as I am, don’t stop at dessert! Here are more bright and zesty recipes to try next:
- Strawberry Lemon Blondies – A soft, chewy bar with the dreamiest lemon-strawberry glaze.
- Creamy Lemon Pasta – One of my favorite pastas! This recipe is comforting, quick, and bursting with citrusy flavor.
- Easy Creamy Lemon Chicken – Weeknight dinner just got a whole lot better.
- Pasta with White Wine Lemon Sauce – Elegant, fresh, and made in under 30 minutes.
If you enjoyed this recipe, I’d love to hear from you! Leaving a 5-star rating and a quick review not only means the world to me—it also helps other home cooks find and trust my recipes. You can also follow along on Instagram @cookwithcassandra. Thank you so much for being here—I hope you love this one as much as I do. Happy Baking!

Lemon Bars Recipe
Ingredients
Shortbread Crust
- 2 cups all-purpose flour
- 1/2 cup granulated white sugar
- 1 cup unsalted butter cold and cubed
- 1/2 teaspoon salt
- 2 teaspoons pure vanilla extract
Lemon Filling
- 4 large eggs
- 1 ½ cups granulated white sugar
- 1/4 cup all-purpose flour
- 3/4 cup (plus 1 tablespoon) lemon juice freshly squeezed
- 1 ½ tablespoons lemon zest
- 1 teaspoon baking powder
For Serving
- powdered sugar for dusting
Instructions
- Preheat & Prepare Pan: Preheat your oven to 350°F. Butter a 9×9-inch baking dish and add parchment paper, leaving a bit of overhang for easy removal.
- Make the Crust: In a food processor, combine the flour, sugar, and salt. Then add the cold, cubed butter and vanilla then pulse until the mixture starts to just come together into a dough. (No food processor? You can also cut in the butter using a pastry cutter or your fingertips.)
- Add Crust to Prepared Pan and Bake: Press the mixture evenly and firmly into the bottom of the prepared pan. Bake for 23 – 26 minutes or until the edges are lightly golden.
- Fork Holes: Remove from the oven. Using a fork, poke shallow holes all over the top of the warm crust (not all the way through the crust) before pouring the lemon filling ontop.
- Make the Lemon Filling: While the crust is baking, combine the lemon zest and sugar in a mixing bowl. Then add the lemon juice, flour, baking powder, and eggs. Using a hand mixer, on medium low beat the mixture until fully combined, the sugar has dissolved, and no visible flour remains. The filling should be smooth and well incorporated.
- Bake Again: Pour the lemon filling over the hot crust and return to the oven. Bake for approximately 30 minutes, or until the filling is set and no longer jiggles in the center. The edges should be lightly golden.
- Cool & Chill: Place the pan on a cooling rack and let it cool completely. Then refrigerate (still in the pan) for at least 6 hours before slicing.
- Slice: Use the parchment paper to lift the bars out and cut into squares after being lifted out of the pan. For neat squares, wipe your knife each time you slice.
- Dust & Serve: Use a sifter to dust the bars with powdered sugar just before serving.


0 Comments