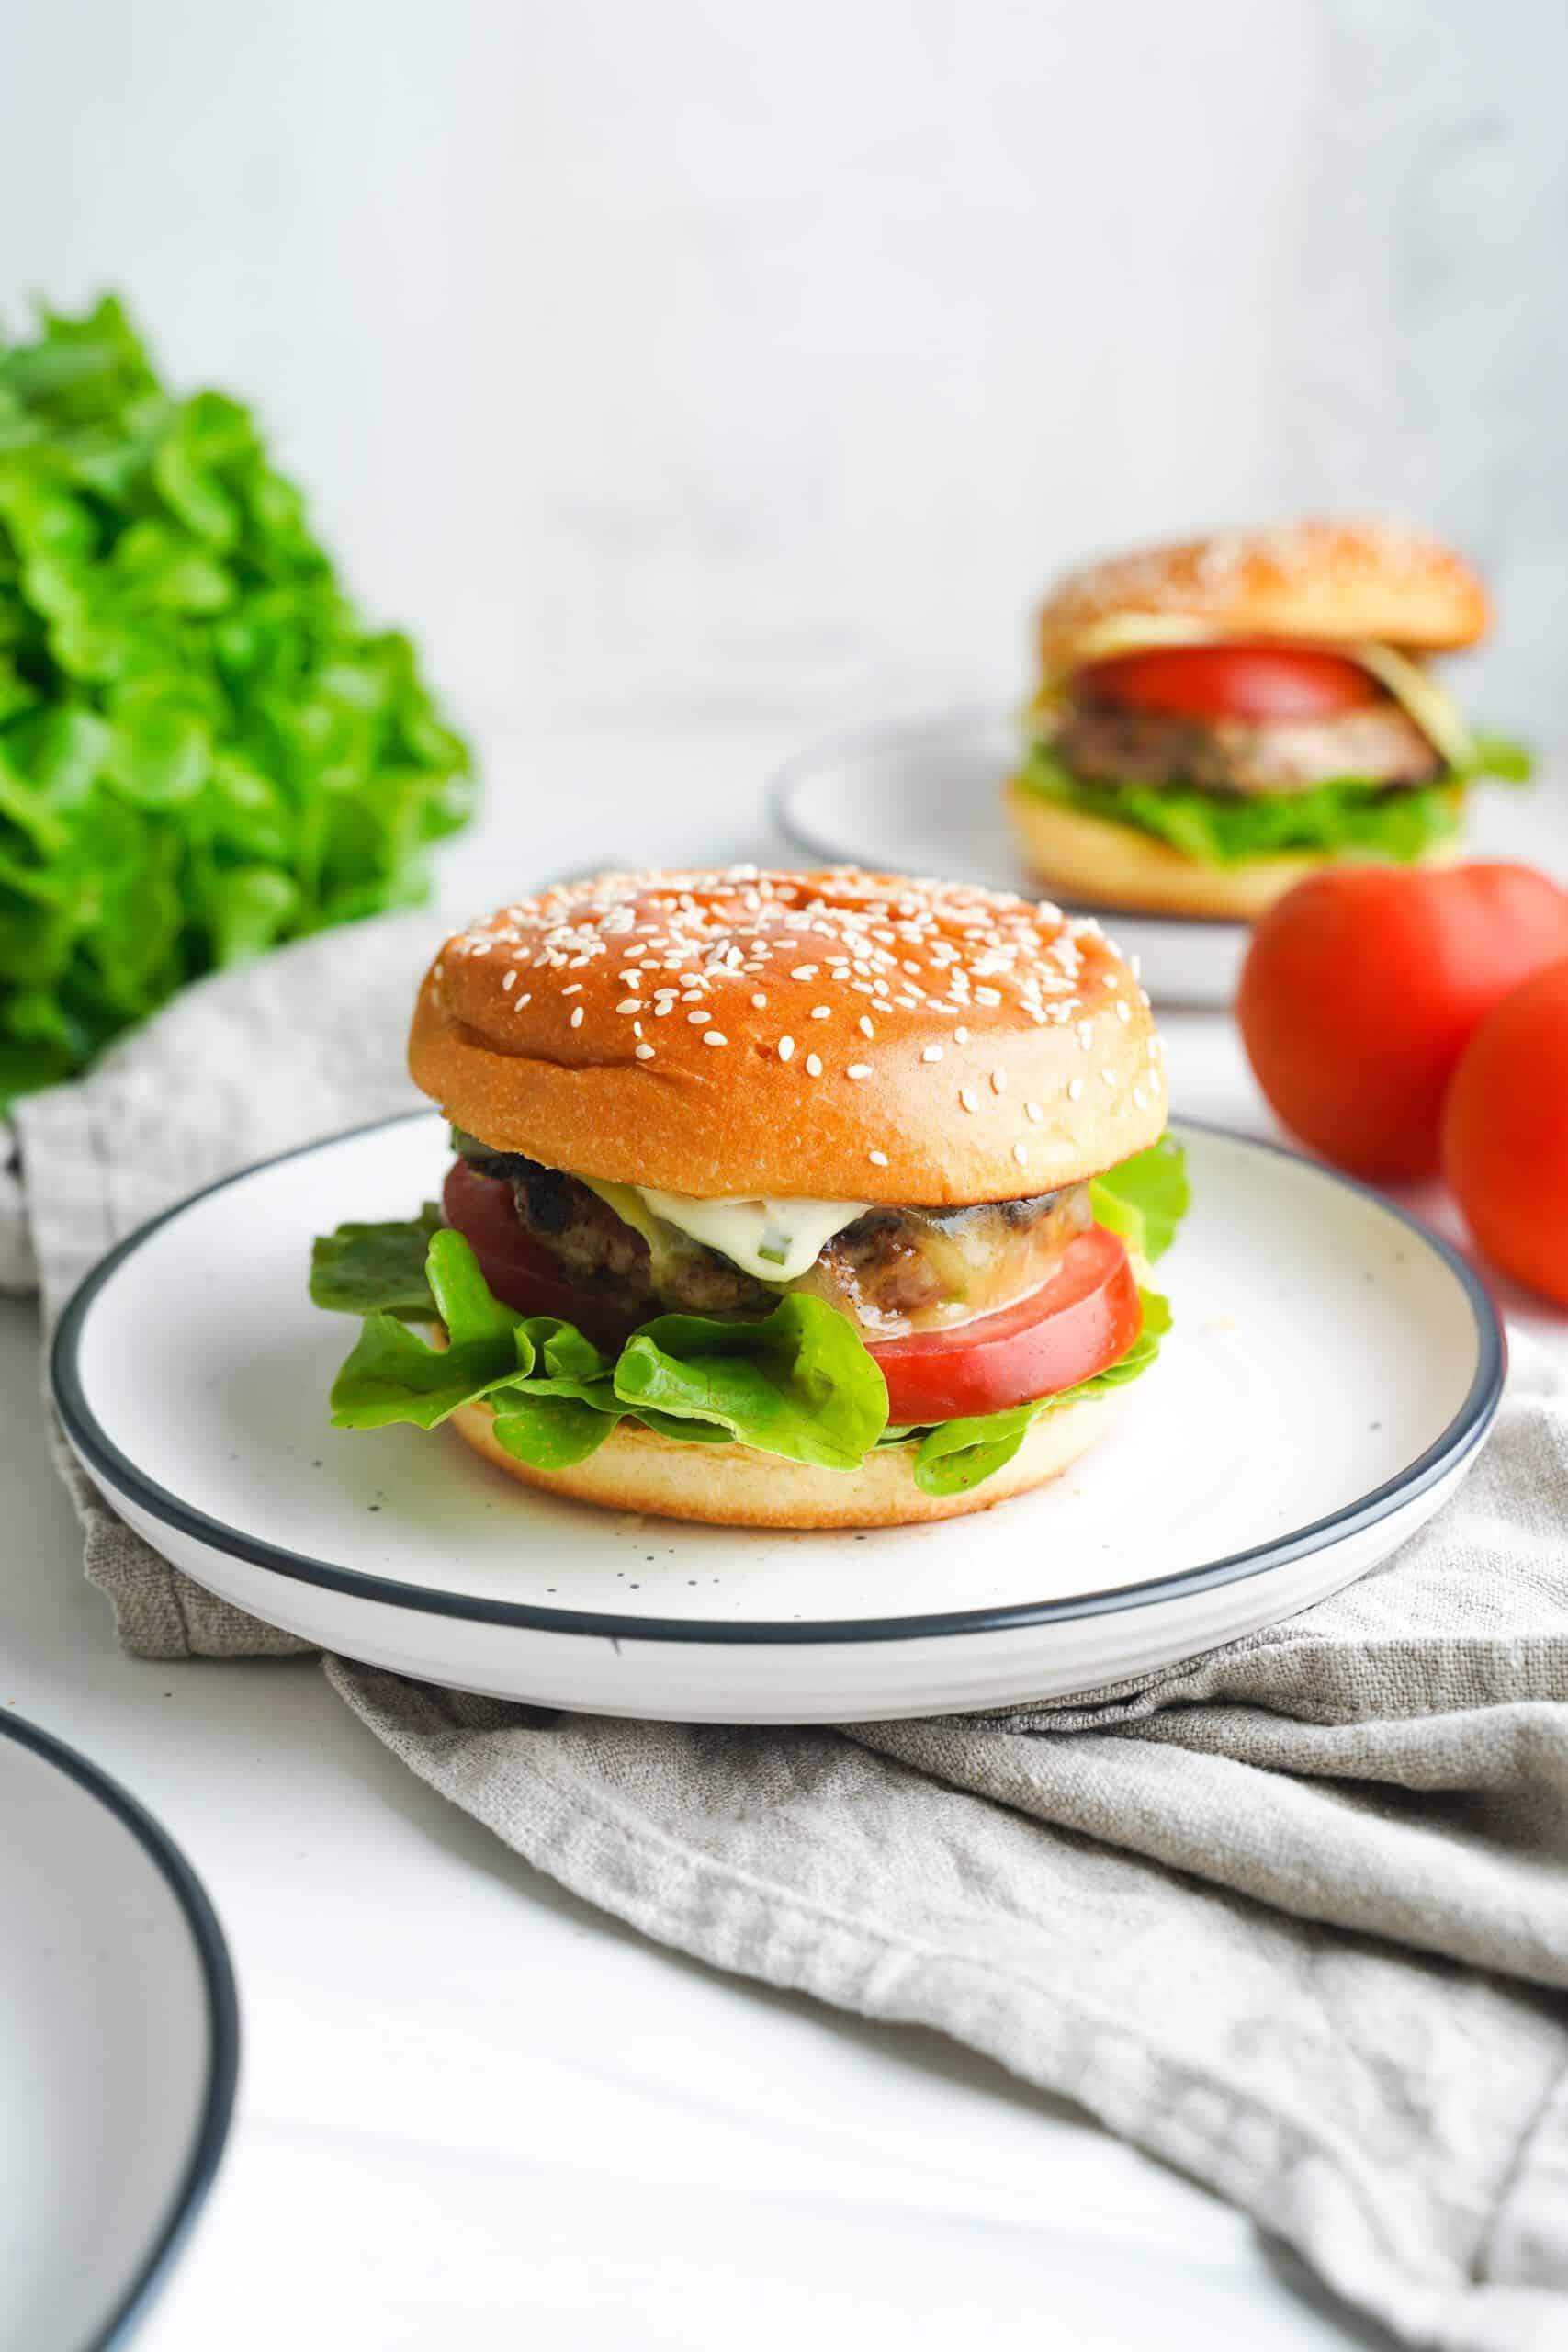
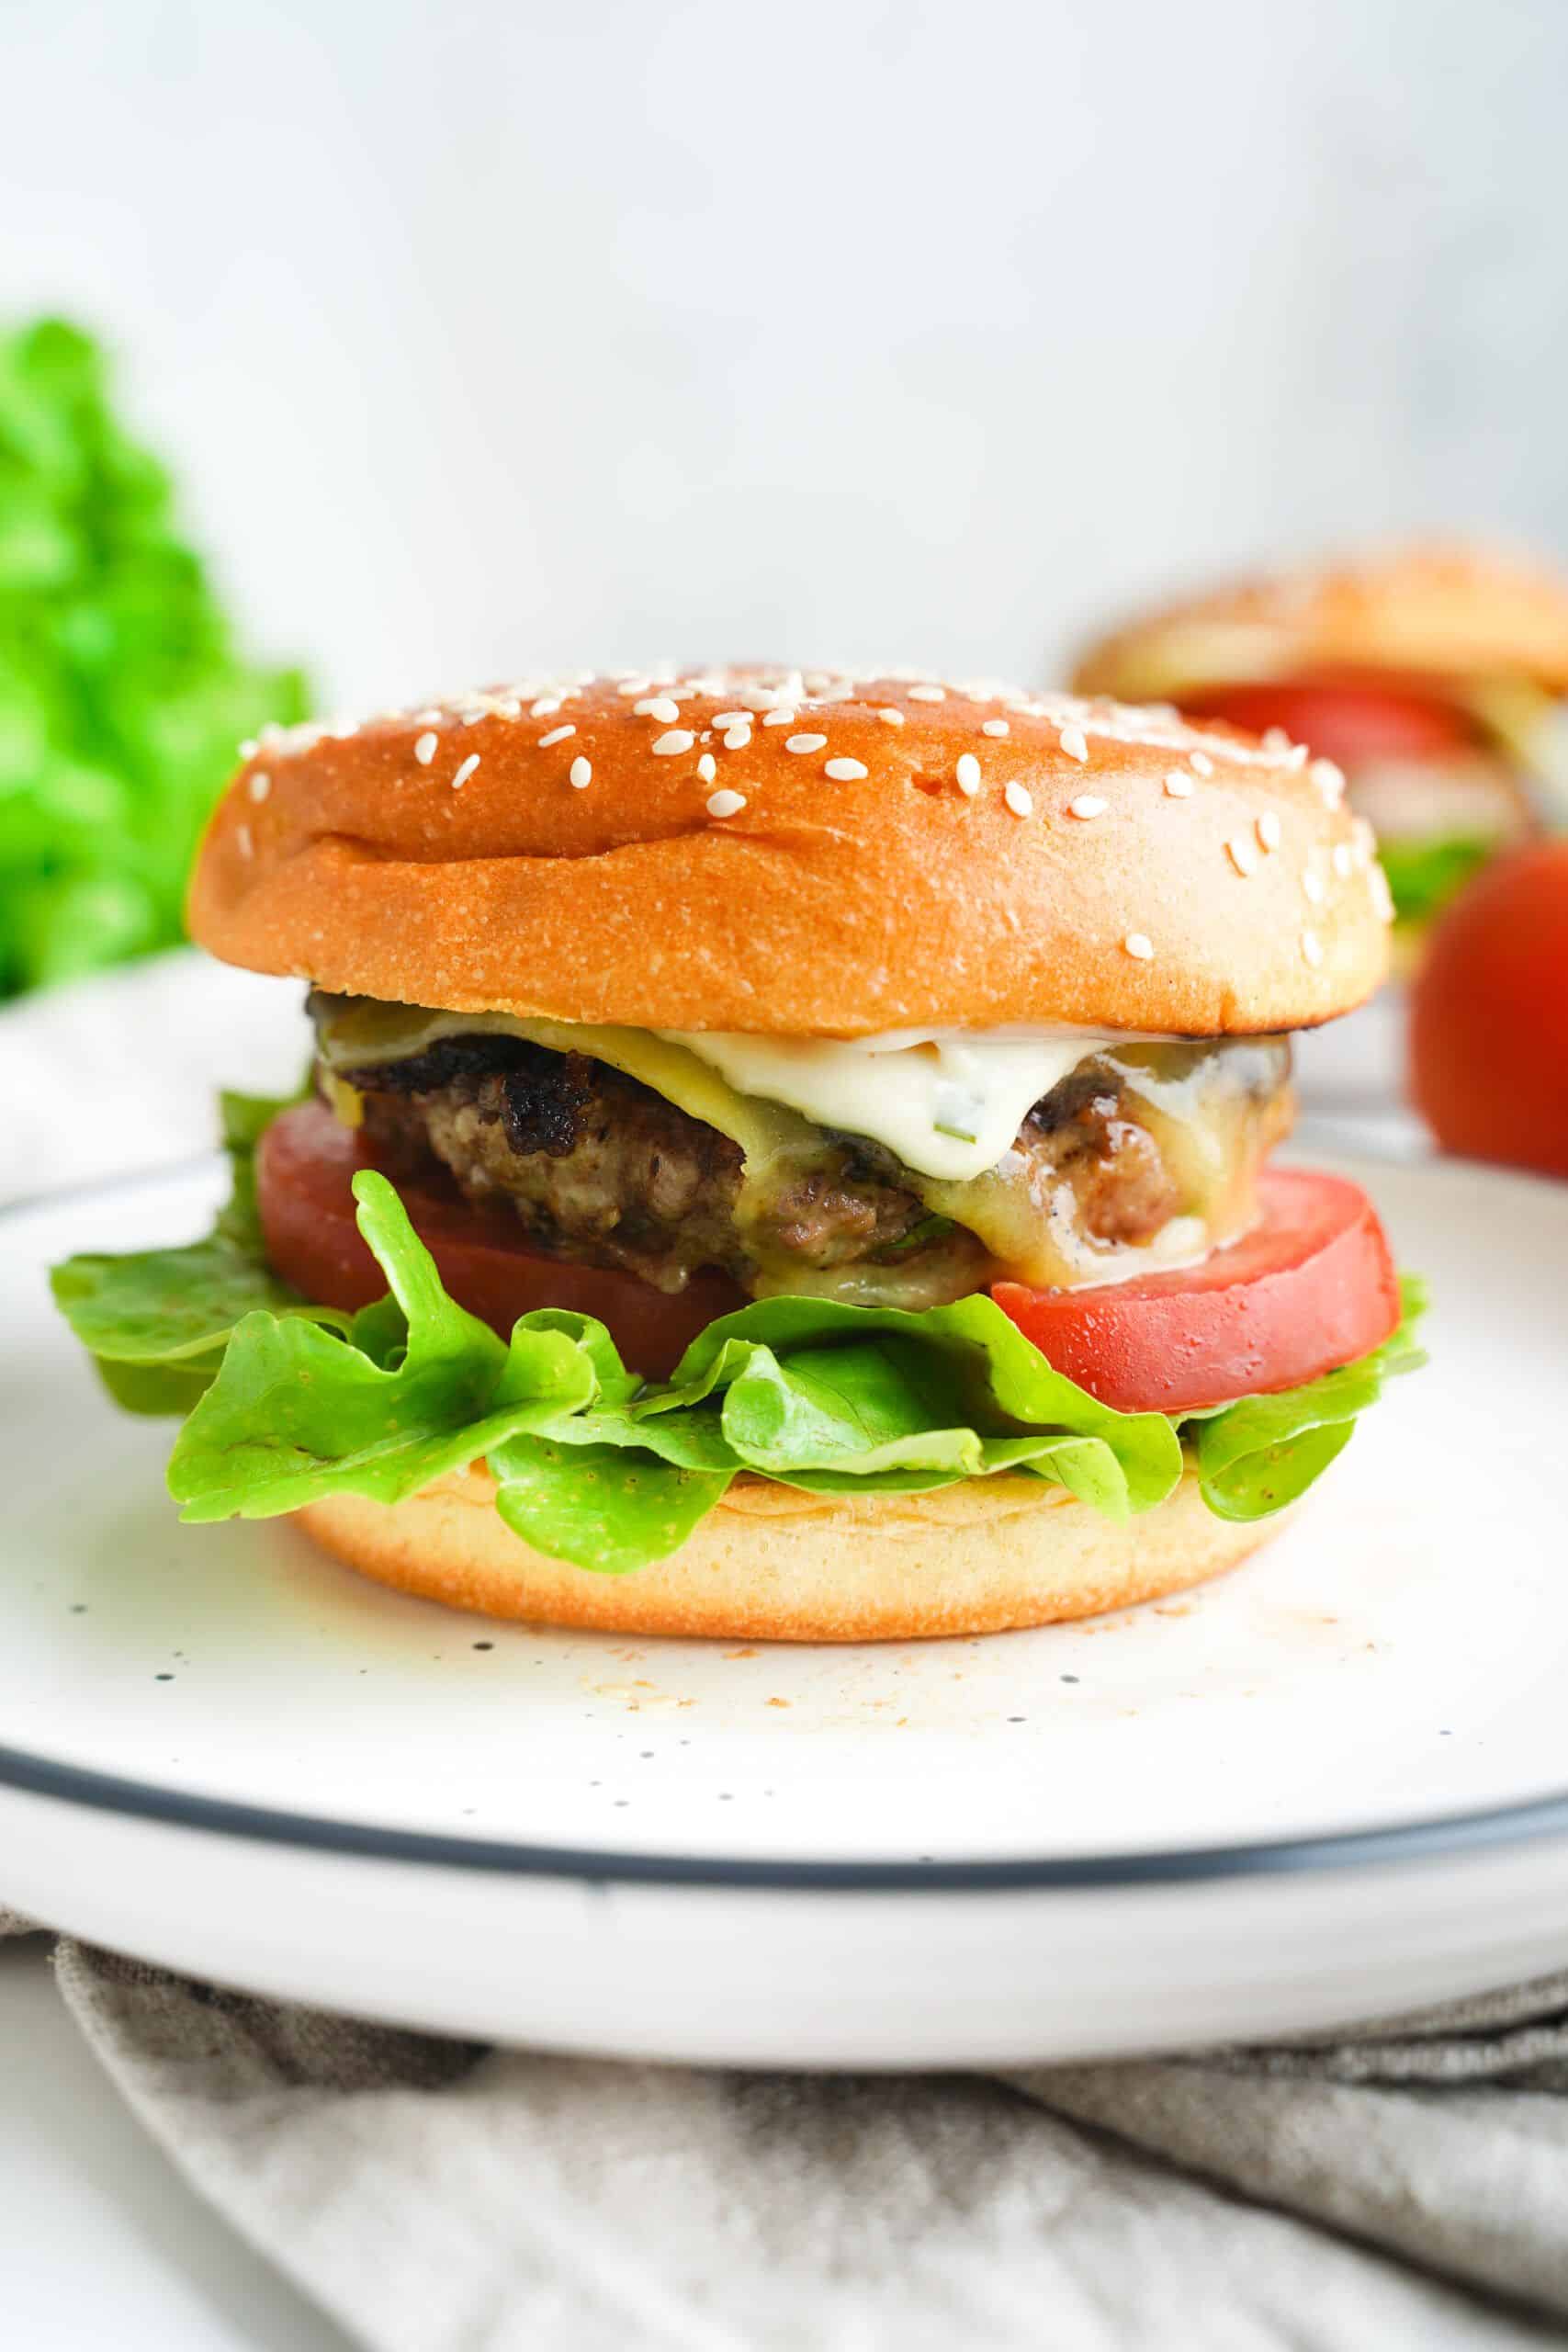
Look no further – here’s a recipe for a mouthwatering gourmet-style hamburger that you can handcraft at home. It features a juicy beef and pork patty, marble cheddar, pickles, onions, and garlic, laced with fragrant Italian herbs.
Stop right here if you’re hungry because this post will get your stomach growling even louder!
Burgers have always been my thing, and I can never say no to a meaty, juicy grilled burger that’s slightly burnt and covered in melted cheddar cheese. The cheeseburger at Brazen Hall Kitchen & Brewery a local favourite of mine in Winnipeg is EVERYTHING.
Anyways – back to this perfect make at home burger recipe! Here’s the complete, trial-and-tested recipe for 20 servings of fully loaded burgers. It includes step-by-step instructions with a special spotlight on how to grill burgers so they’re flavorful, juicy, and cooked just enough.
It’s time to chow down!
Recipe Ingredients
This grilled burger promises that every bite will be juicy and flavorful. So, what’s the secret? Let’s start with the ingredients:
For the patty:
- Lean ground beef and lean ground pork – These are great sources of protein with lower fat content. If purchasing beef patties from the butcher, ask for ground chuck meat.
- Garlic and onion – No patty is complete without garlic and sweet onion!
- Marble cheddar cheese – This smooth, buttery cheddar cheese will melt and ooze within the patty once grilled.
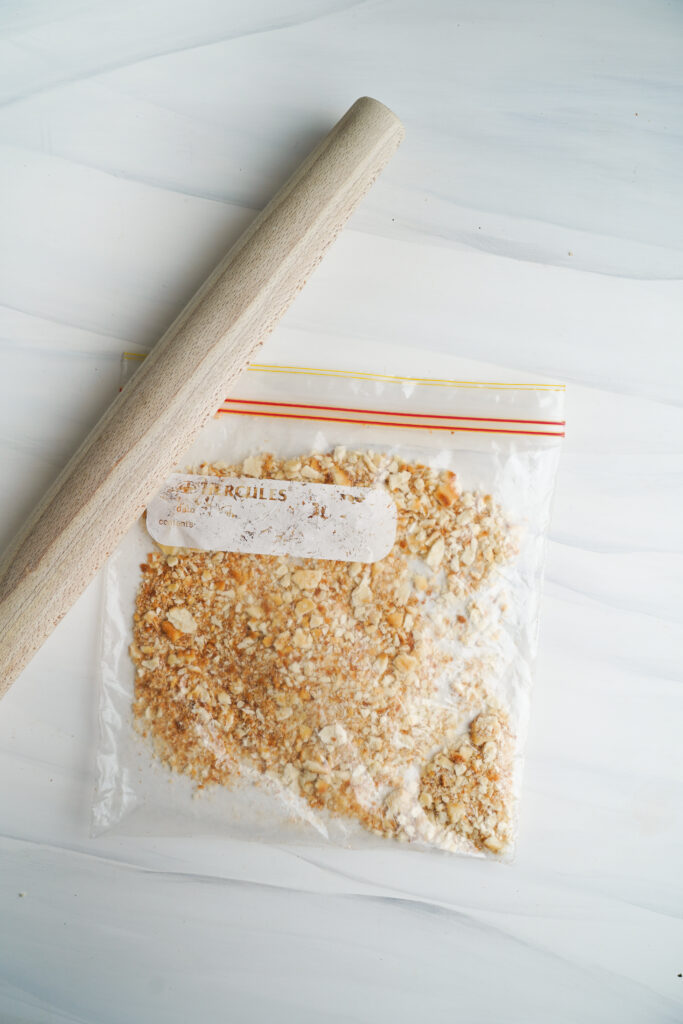
- Ritz crackers – A well-known trick to the moisture of the patty by mixing in a bag of crushed Ritz crackers.
- Eggs – To bind the patty together, otherwise, they’ll just fall apart into crumbs.
- Worcestershire sauce – I use Lea & Perrins Worcestershire sauce to marinate the meat. Feel free to use whichever brand you have at home.
- Fresh parsley – Parsley should be finely chopped and added to patties. This helps to distinguish the flavor of the meat!
- Seasoning – We will use basil, oregano, sea salt, and freshly ground pepper in this recipe.
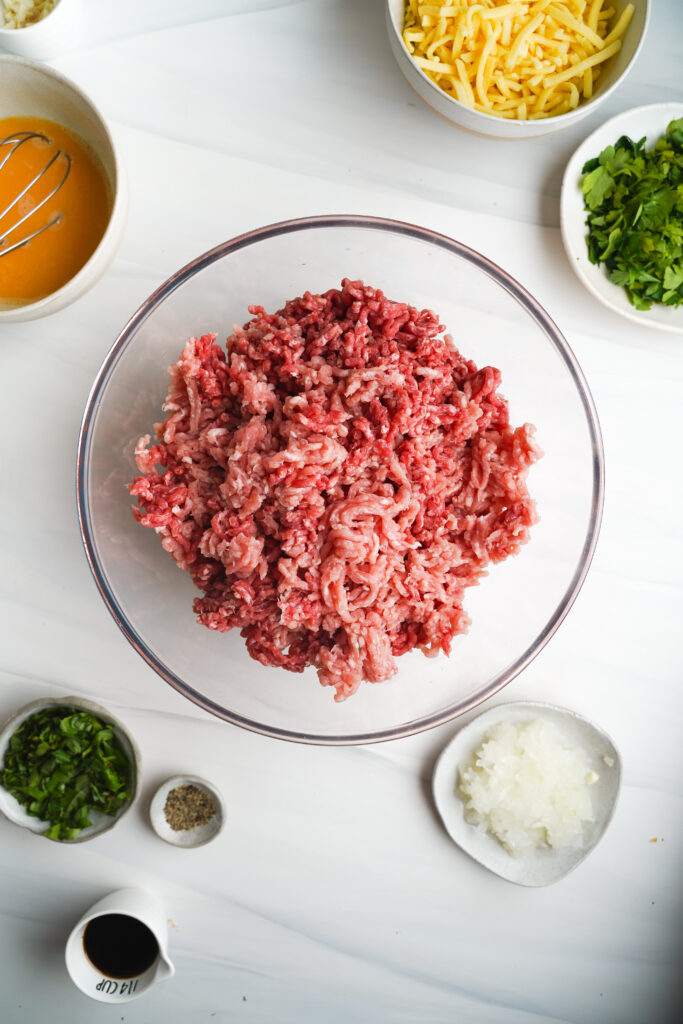
These ingredients are just as important to complete the hamburger:
- Sesame seed buns – Brushed with butter and then toasted to create a crispy surface and a buttery and fluffy bun.
- Lettuce leaves – Finish the burger with fresh and crunchy lettuce. Butterhead lettuce or iceberg lettuce works really well in burgers.
- Beefsteak tomatoes – What better tomato for a beef burger than a beefsteak tomato? Seriously, though! They’re juicy and firm, unlike regular tomatoes which can get soggy.
- Pickles and onions – Always a good idea to complement meat with tangy pickles and onions.
Step-by-Step Instructions
Step One: Begin by crushing up the Ritz crackers. Fill up a large Ziplock bag with Ritz crackers and crush them with a rolling pin until they are very fine (almost powdery). This is going to be an arm workout!
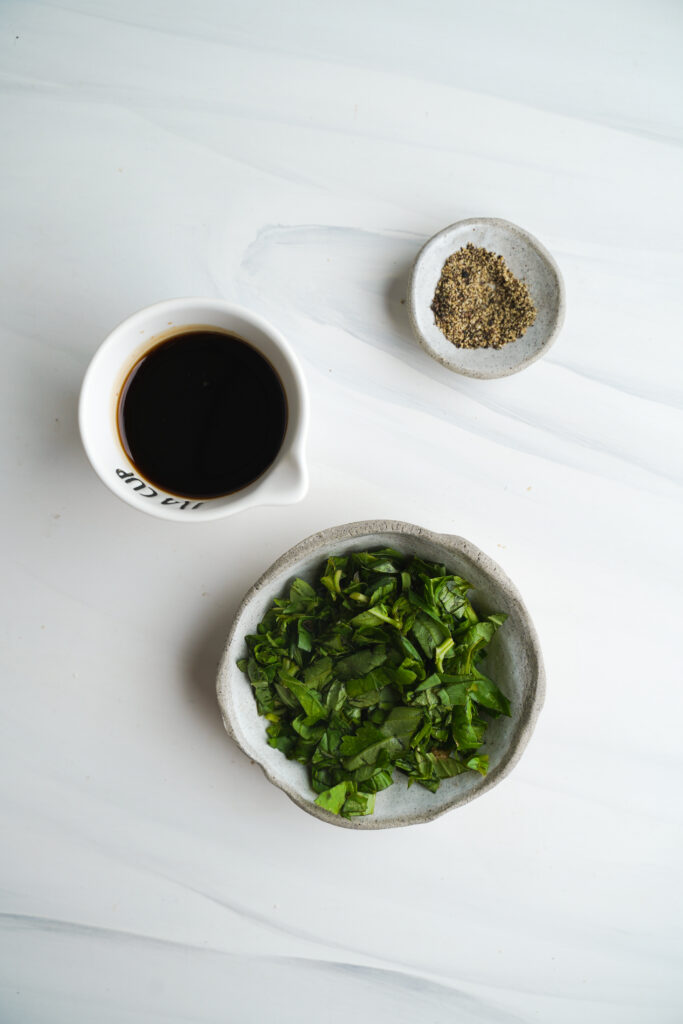
Step Two: Measure out the oregano, basil, pepper, and Worcestershire sauce. Finely chop your parsley, grate the cheddar cheese, grate the onion, and mince the garlic.
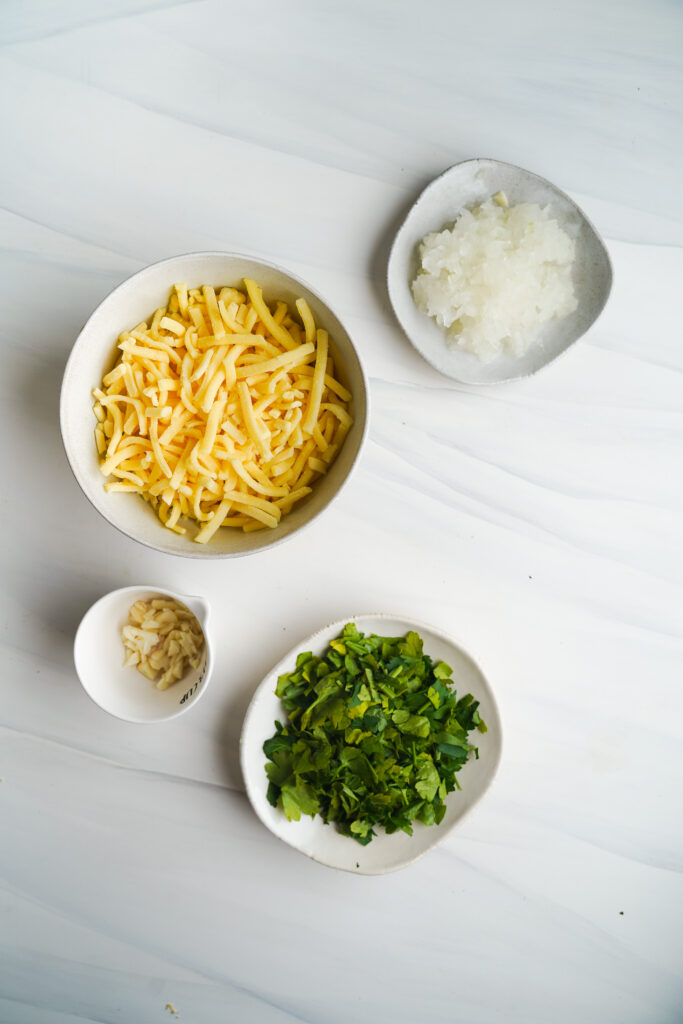
Step Three: Crack eggs into a bowl and whisk until smooth.
- Pro Tip: Always crack eggs in a separate bowl. This helps you check for freshness before adding them to the rest of the ingredients. It’s also easier to remove any pesky eggshells.

Step Four: Place the lean ground beef and pork in an extra-large bowl. Now it is time to mix all of this goodness together!
- Pro Tip: Mix each ingredient together with the meat mixture a quarter at a time until well incorporated, then repeat. Doing so in portions helps all of the ingredients to combine more thoroughly and evenly.
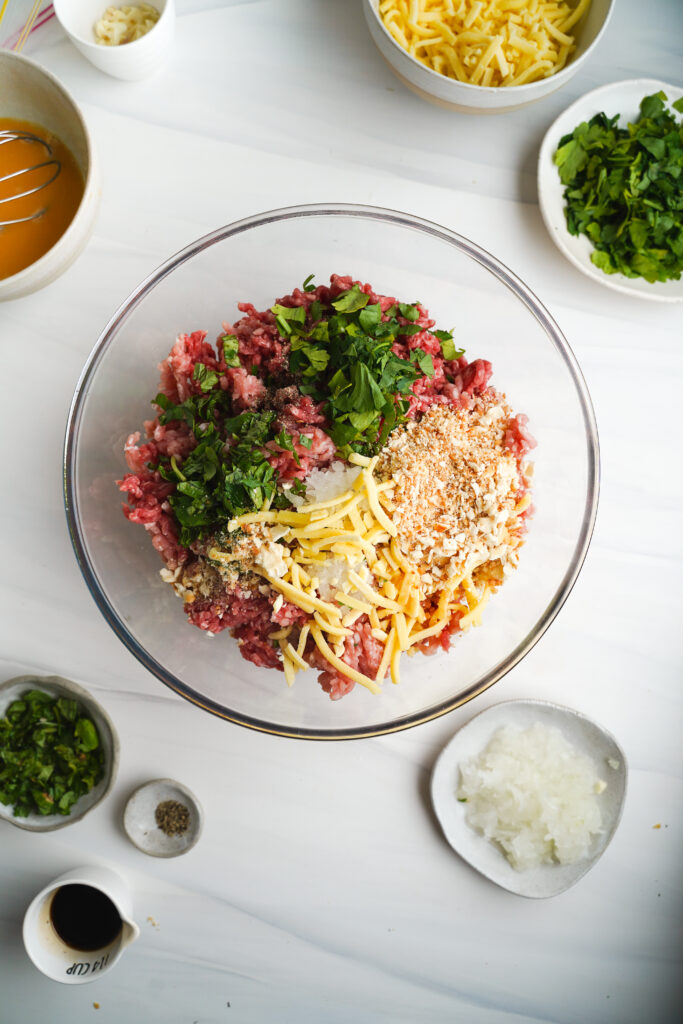
Step Five: Form the patties and grill them. Line a baking sheet with parchment paper. Shape the patties to be 1 inch thick and 4 ½ inches in diameter. Make an indentation in the top of each patty, allowing the center of the patties to sink a little. Be careful not to handle the patties too much because this will toughen up the meat.
- Pro Tip: If you want to freeze the burgers for future use, then make sure the baking sheet fits into your freezer.
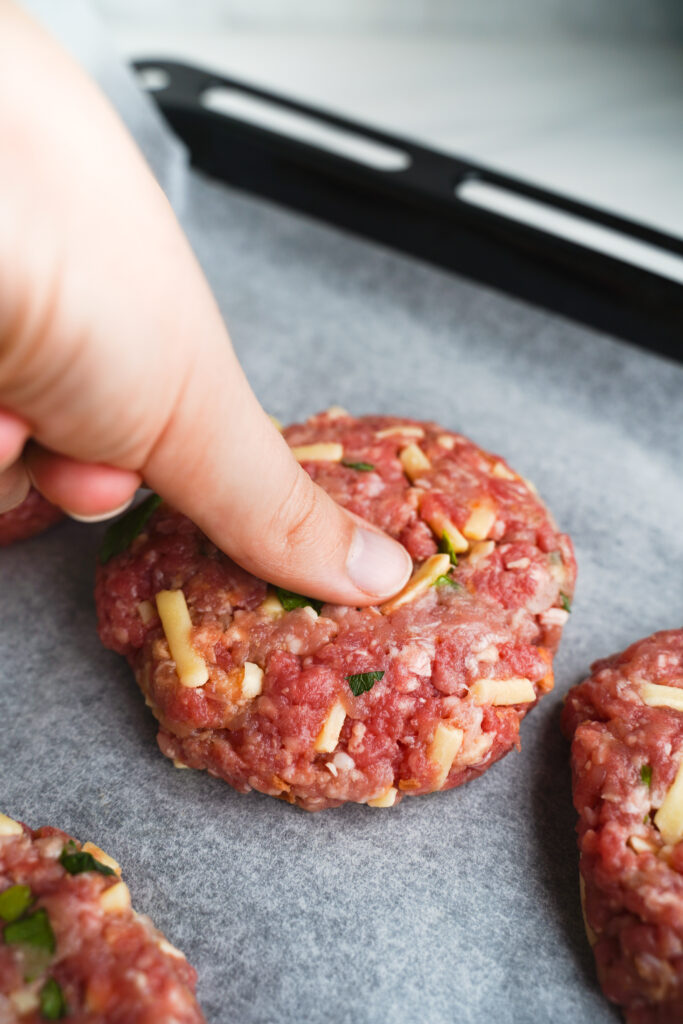
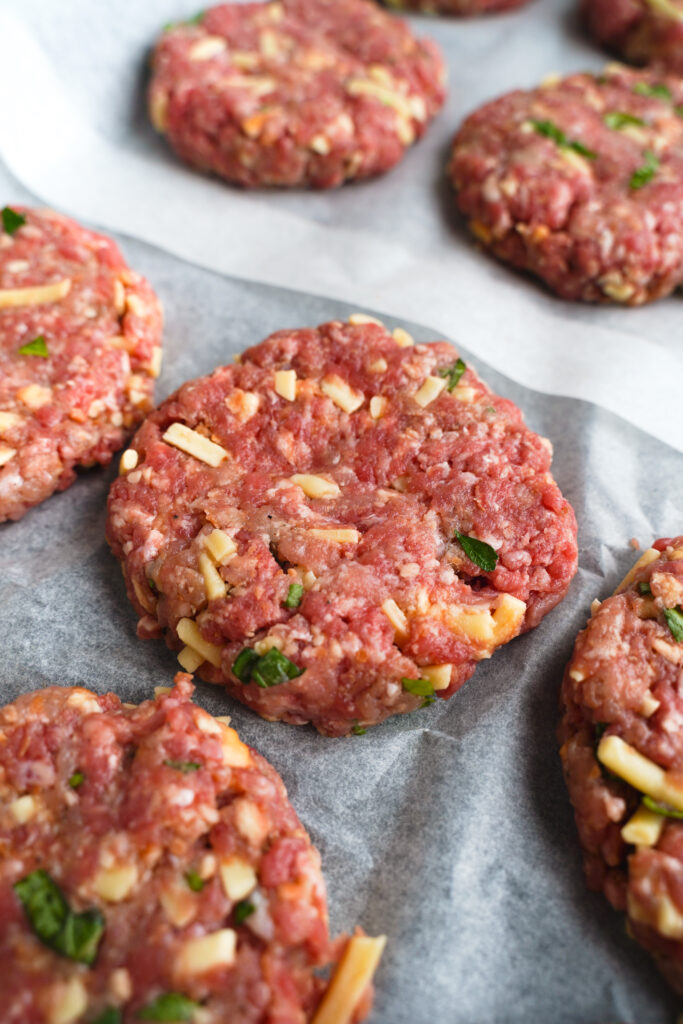
Step Six: Bring your patties to the barbecue pit. It’s time for heat to do its thing! Please look at the next section for detailed tips on grilling the BEST BBQ burgers.
Step Seven: Generously spread some butter on the buns and toast them on the grill. The best types of burger buns are slightly charred outside and buttery inside.
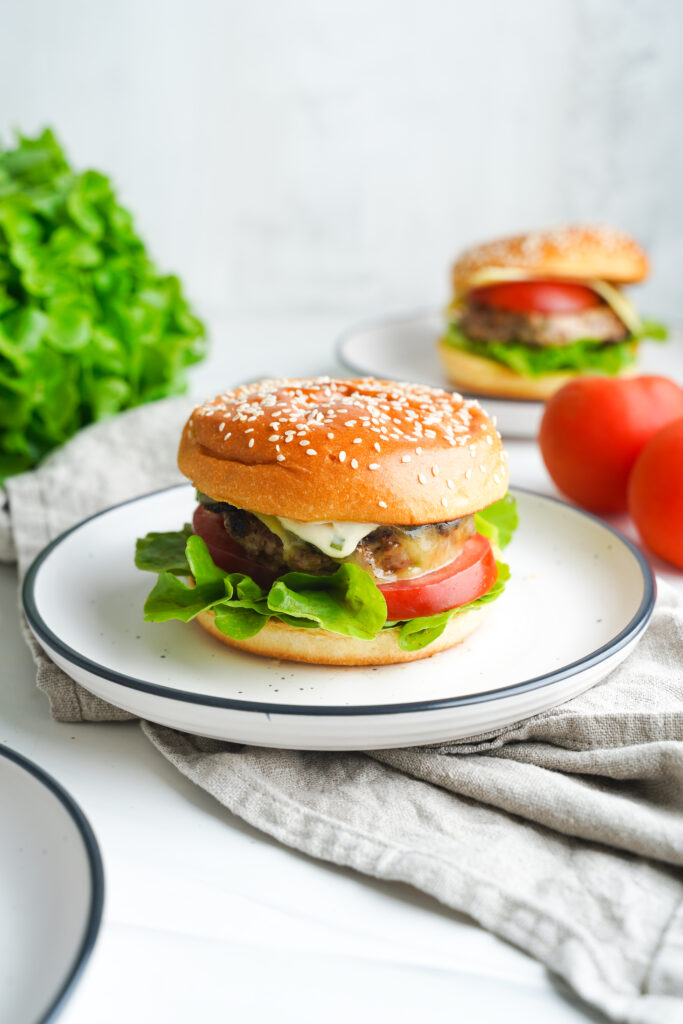
Step Eight: Assemble the burger. Stack the meat, tomato, pickles, onions, lettuce, and more melted marble cheddar (optional) in between the sesame seed buns. If desired, squirt some ketchup or mustard inside.
Step Nine: Poke a skewer through to the bottom to hold the burger in place. This is optional.
How Long To Cook Burgers On The Grill For?
Grilling burger patties doesn’t need to be rocket science, though with heat settings and grilling times, it can get quite complicated. Let me break it down for you…
To grill your hamburger, turn the heat up on high. Grill for 8 to 10 minutes on each side with the grill closed. This is important as the smoke will reinfuse into the meat instead of escaping into the air.
The patties are ready when you push on the top and juices run clear instead of white. The internal temperature should read 160˚F (use a meat thermometer). There will be a tendency to fiddle with the burgers with a spatula, a fork or flipping it frequently. Don’t do this, as precious meaty juices will be lost.
- Pro tip: We rotate the patties 45˚ after 5 minutes to create fancy grill marks from the grill grates. It’s fun to be fancy!
Expert Tips & Tricks
My favorite part about this homemade hamburger recipe is that it is freezer friendly. I always keep at least 12 in my freezer at all times, ready to go for nights when there is no time to make dinner or when we have unexpected guests.
How to store burgers:
If you are not grilling all the patties at once, arrange the patties on a baking sheet lined with parchment paper. Put it in the freezer for an hour until it hardens before wrapping individually with a saran wrap.
Keep them in a freezer bag for up to 6 months. When ready to serve, take individual patties out of the freezer, thaw and then grill with the above method.
Recipe Toppings
Get creative with this hamburger recipe and step it up a notch with your favorite burger toppings. Why not try these add-ins?
- Crispy bacon with maple syrup
- Caramelized onions
- Portobello mushrooms
- Crispy Swiss cheese
- Onion rings
- Garlic aioli
- Hot sauce like Sriracha or Tabasco
Now, if you’re passionate about burgers like me, take a look at this spinach feta turkey burger with tzatziki and my pulled pork burger recipe. They will not disappoint!
Grilled Burger Recipe
Ingredients
- 1.8 kilogram (4 pounds) lean ground beef
- 1.8 kilograms (4 pounds) lean ground pork
- 1 large sweet onion finely grated
- 14 garlic cloves minced
- 2 ½ cups Italian flat leaf parsley leaves only, finely chopped
- 4 cups marble cheddar cheese, freshly grated
- 1 bag Ritz crackers finely crushed till no clumps remain
- 5 eggs beaten in seperate bowl
- 1/4 cup whole milk
- 3/4 cup Worcestershire sauce
- 2 tablespoons dried basil
- 2 tablespoons dried oregano
- 1 teaspoon salt
- sprinkle black ground pepper
- sprinkle of sea salt on each burger patty
TOPPINGS (optional)
- Large sesame seed burger buns lightly toasted on the grill with butter
- lettuce leaves
- beefsteak tomatoes thinly sliced
- pickles thinly sliced
- yellow onion thinly sliced and caramelized
Instructions
Prepare the Ingredients
- Crunch up the crackers. I often put the crackers in a large Ziplock bag to get out as much air as possible and roll them with a rolling pin or crunch with your hands until the Ritz Crackers are very fine.
- Measure out the oregano, basil, pepper, milk and Worcestershire sauce.
- Finely chop your parsley, grate cheese, finely chop onion in and food processor and mince the garlic.
- Crack eggs into a bowl and whisk until smooth.
Mixing everything together
- Remove the lean ground beef and pork from the refrigerator and add to an extra large bowl.
- Now it is time to mix all of this goodness together! Gradually mix everything together. Mix each ingredient together with the meat mixture a quarter at a time till incorporated then repeat. This helps all of the ingredients to mix in more thoroughly.
Forming the patties + grilling
- Line a baking sheet with parchment paper that will be able to fit into your freezer (a Chest freezer or fridge freezer) This step is if you want to freeze burgers for later.
- Gently form burger mixture into 1-inch-thick patties, about 4 ½ inches in diameter. Make an indentation in the top of each patty. Pushing down in the center making burgers slightly thinner in the center and thicker at the edges for even cooking.
- Grill 8-10 minutes on each side with the grill closed (we rotate them 45˚ after 5 minutes to create fancy grill marks). Don't play too much with your burgers by pressing with a spatula, pricking with a fork or turning frequently as precious juices will be lost!
- Cut your buns in half and spread a little butter on the insides. Toast buns face-down on grill until just lightly charred, about 30 seconds.
- You know patties are done when you push on the top and juices run clear instead of white. An instant read thermometer should read 160F.
- Tuck into your warm bun & add your favourite toppings.
Meal prep + freezer friendly storage
- If not grilling all the patties at once- After forming the patties, place patties that you are wanting to freeze and save for a later date on the prepared baking sheet and place in your chest freezer or regular freezer for an hour to harden. Once the patties have hardened, wrap them individually with saran wrap and store in a freezer bag. These burgers will last 6 months in your freezer.
- When ready to use, take out of the freezer, thaw then grill with the above method.
- Pro Tip: My favorite part about this homemade hamburger recipe is that it is freezer friendly. I always keep at least 12 in my freezer at all times, ready to go for nights where there is no time to make dinner or for unexpected guests.









0 Comments